Drying the Harvest: Preserving Garden Delights for Long-Term Storage
Drying garden and orchard produce is one of the oldest ways of storing food. We update some of those methods today with the use of electricity, but the basics are to how our great-grandparents stored their summer produce for winter meals. Other cultures still depend on drying; when working in the Arctic in the summer, it was interesting to see salmon hung on elevated wooden platforms by the ocean where they were left to dry before the long winter began. Although drying meat was an essential means of storage in pioneer days, I rely on the freezer for meat and use different means of drying and storage for some of the fruit and vegetables that I describe below. After all, most of us have the luxury to choose preserving our harvests in many ways including canning, fermenting, freezing and drying. Let's talk now about drying our precious harvest.
Beans are fun and easy:
Summers can be so busy as we attempt to care for our gardens at the same time that we are busy preserving the daily harvests. That's why growing and preserving dried beans for winter meals delights me--it's so easy!
Most old-fashioned beans are climbers, so I let them climb away during the summer and into the dryer autumn. I then just gather the dried pods unless the autumn is usually rainy. If that's the case, I rescue the beans before they get mildewy and let them dry completely in the sun (or indoors) before shelling.
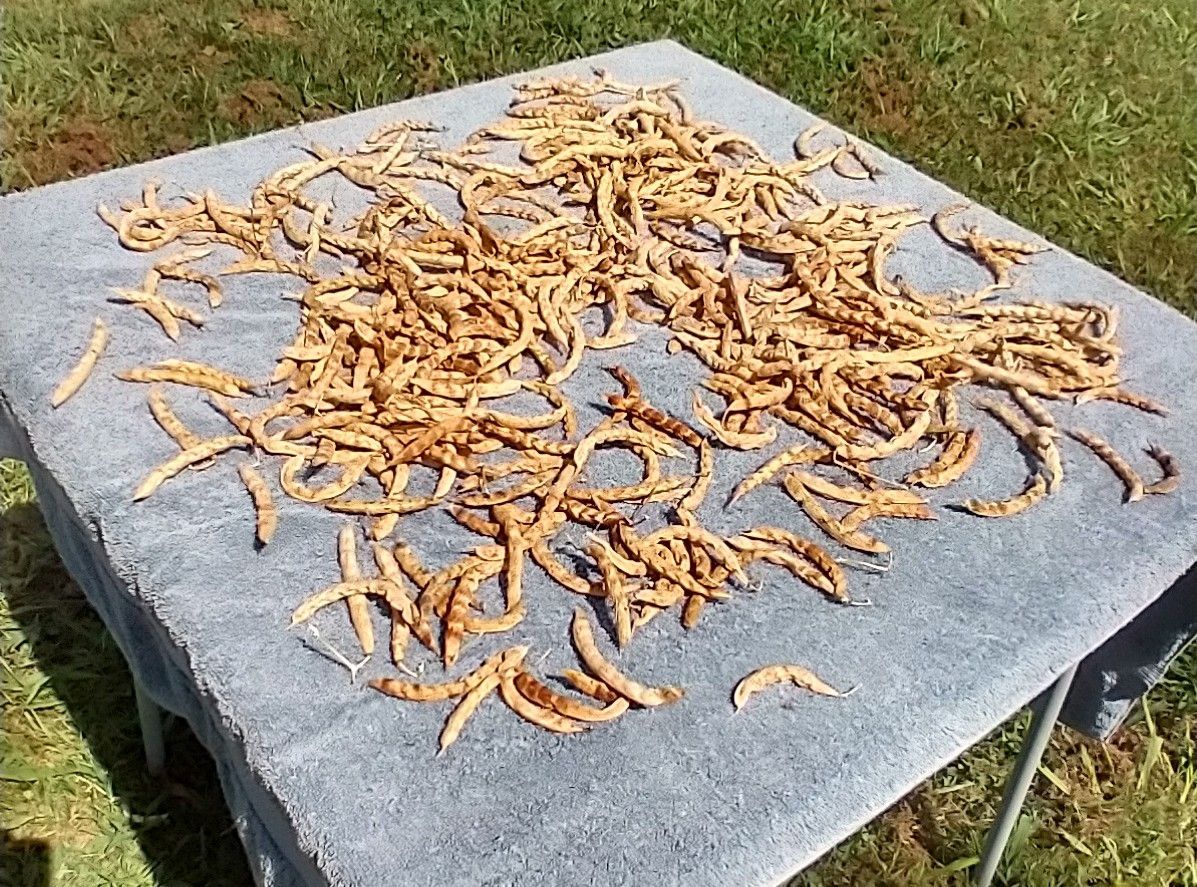
"Processing" the dried bean pods gives me big satisfaction with minimum work, which is why it ranks high on my list of favorite tasks. I wait for the beautiful autumn evenings, set up a lawn chair outdoors and a drink at hand. There's a bucket of dried bean pods on my left, a lovely gourd bowl to receive the beans on my lap, and another drywall bucket on my right that will hold the empty shells before they're transported to the compost pile.
The shelled beans will still need the bit of shell-debris "winnowed" or blown off, but otherwise they're ready for storage. Spreading out the beans on cookie sheets indoors allows me not only to remove and residual shells, but to pick out the very best heirloom beans for growing next year. That helps us be one step closer to self-sufficiency!
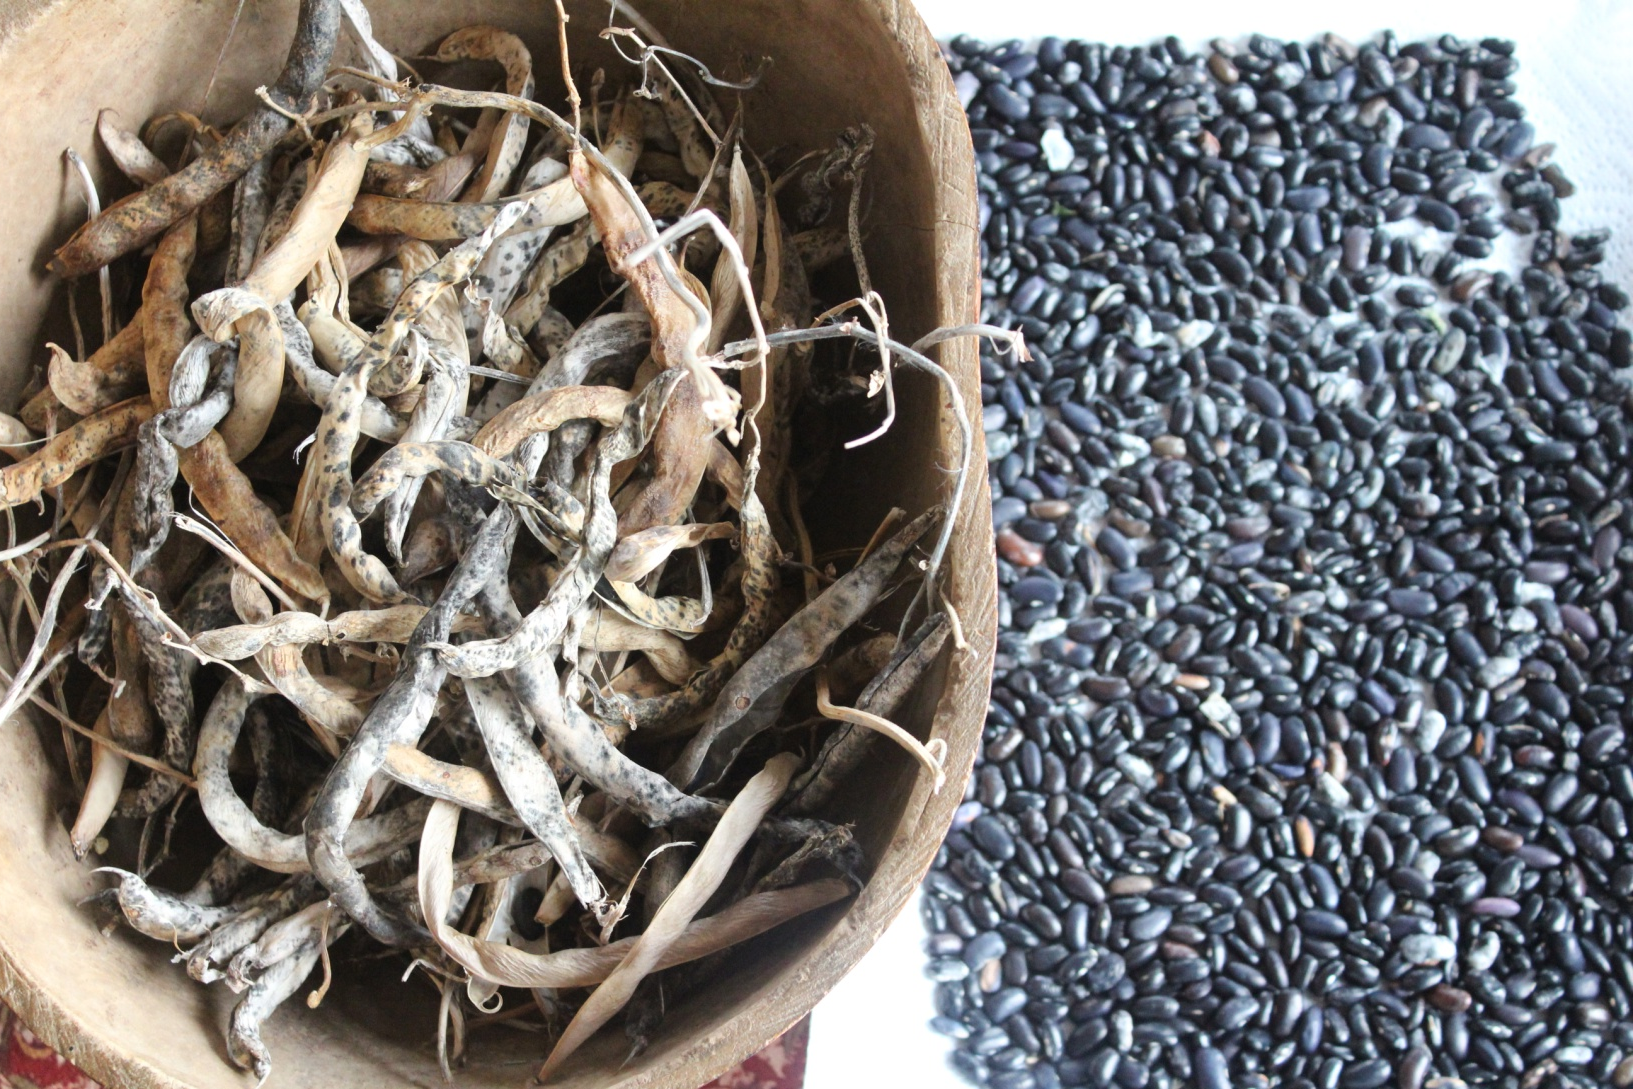
Dried beans are incredibly versatile when preparing winter meals. I now have fifteen varieties of beans that are beautiful to "show off" on their open shelves in the kitchen. Bean vary in their texture and taste when cooked, and I am gradually learning what beans work best for certain dishes.
I only have the space and trellises to grow two or four varieties of these climbing beans annually, and so choose the ones that have been most depleted during winter meals. I find that the beans that only get grown out every three or four years still have remarkably good germination.
You'll notice a small packet inside this jar of dried "Greasy beans." It's a "desiccant," meant to keep the beans dried. I have only recently began using this, so I can't claim that it's necessary. It is made from silica, a pure form of diatomaceous earth. This means it is completely safe, so I thought I would just give it a try for now.

Potatoes and onions:
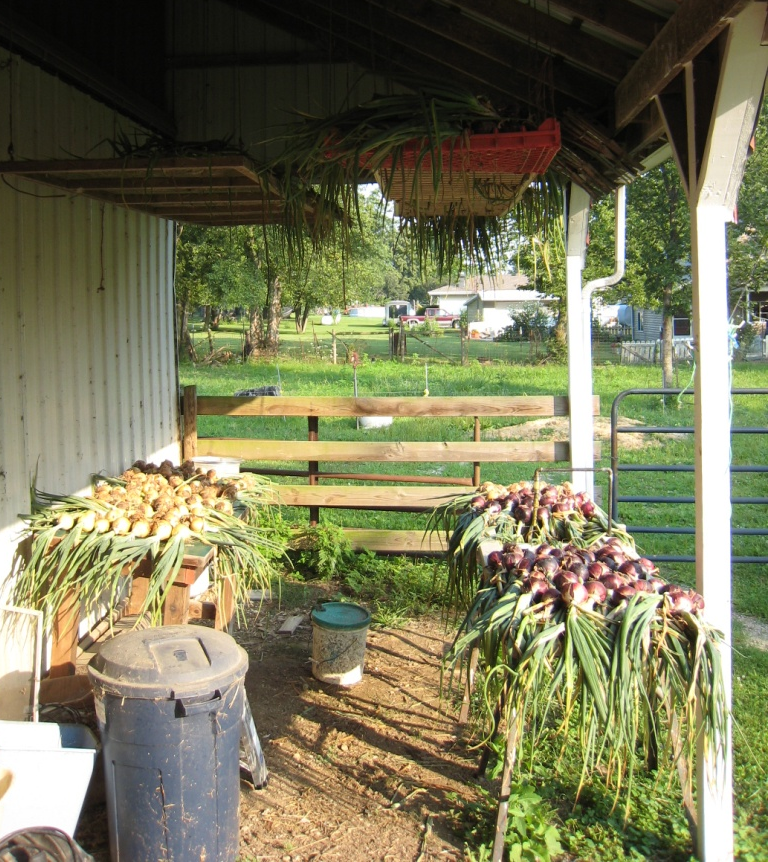
It's a bit like Christmas when we dig up potatoes or pull out the storage onions, not sure of how good or how bountiful our harvest will be. These are precious commodities that can often feed us until the following harvest if we can store them correctly.
The first project after hauling any root crop like potatoes or onions in from the garden is to "cure" them. Curing dries and hardens the skin so that the vegetables will store well without spoiling.
Potatoes: Our best place for a large number of newly harvested potatoes has been the floor of the garage. The car sits out for about two weeks that potatoes require for curing while the garage door is kept open a crack to allow ventilation while keeping the sunlight out. This also allows the potato sugars to change into carbohydrates for better storage.
Onions: Whether sweet or storage onions, these also need ventilation and shade. The onions in this photo wait their turn to be put on the racks above. Both onions and garlic require about one week of curing. Their tops are not trimmed off until they are ready to be brought in for storage.
Optimal storage conditions:
- Root crops like potatoes: cold (just above freezing) and damp (85 to 90% humidity)
- Pumpkins and squash: warm (~50 degrees F) and dry (50 to 70% humidity)
- Garlic and onions: cool (40's degrees F) and dry (50 to 70% humidity)
Both a thermometer and hygrometer from the hardware store will help you adjust the temperature and humidity.
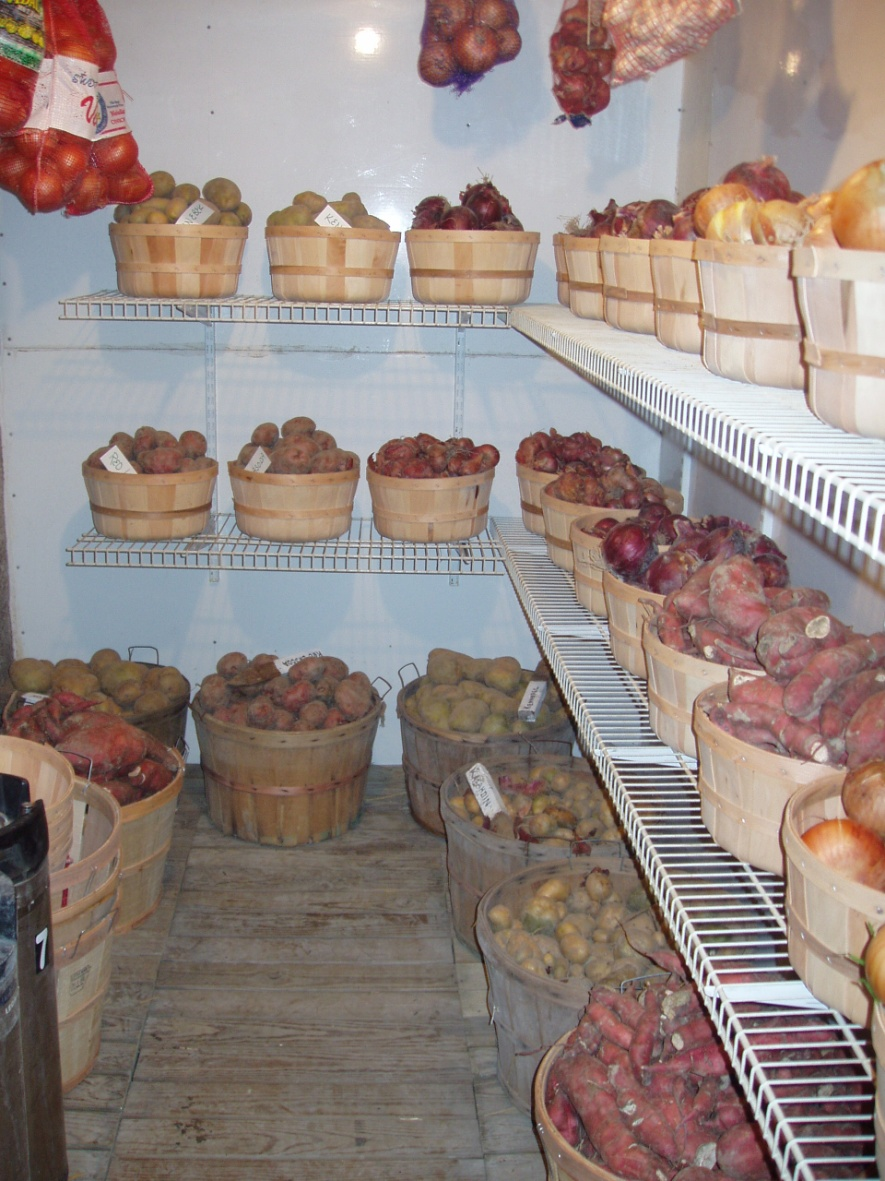
Root cellar storage:
A root cellar or storm cellar is invaluable for storing root crops, which seems like an obvious use for a root cellar! The photo shows the cellar my husband built in a corner of the basement. We previously had one dug into a hillside and ventilated with PVC pipes. The downside to it was that it was difficult to get it sufficiently ventilated or to protect the precious produce from insects.
A major requirement of root cellar storage is that it needs to be ventilated so both the temperature and humidity can be adjusted. The basement root cellar therefore had two 4" PVC pipe into the outdoors. However, they didn't create much air exchange until a small air conditioner with a separate fan were connected to be used intermittently. This not only allowed fresh air, but had the big advantage of dropping the temperature below 60 degrees and into the 40 degree range which was our compromise to store different types of vegetables. Humidity, the second major factor for storage, was also adjusted this way.
We've recently moved, so we're again exploring options for a storage place that is cool, dark and rodent-free. We need it not only for potatoes and onions, but also the winter squash. An insulated closet that vents to the outside would be good, and a back porch that doesn't get freezing temperatures would work. Attics also work well if we don't forget that our pumpkins are up there! People have even buried old chest freezers in the ground for winter storage. What we need is a place that is dark and cool, but never freezing.
Where's the fruit?
Storing unprocessed fruits like apples and pears is challenging because they emit an ethylene gas during storage that can decrease the storage life of the other vegetables that they are stored with. finding a separate storage place for orchard fruits that is both cold and humid would be optimal. A separate and small root cellar would be good, but what I usually do after setting aside what we can eat within a month is to dry and can fruit from the orchard.
Drying sliced produce:
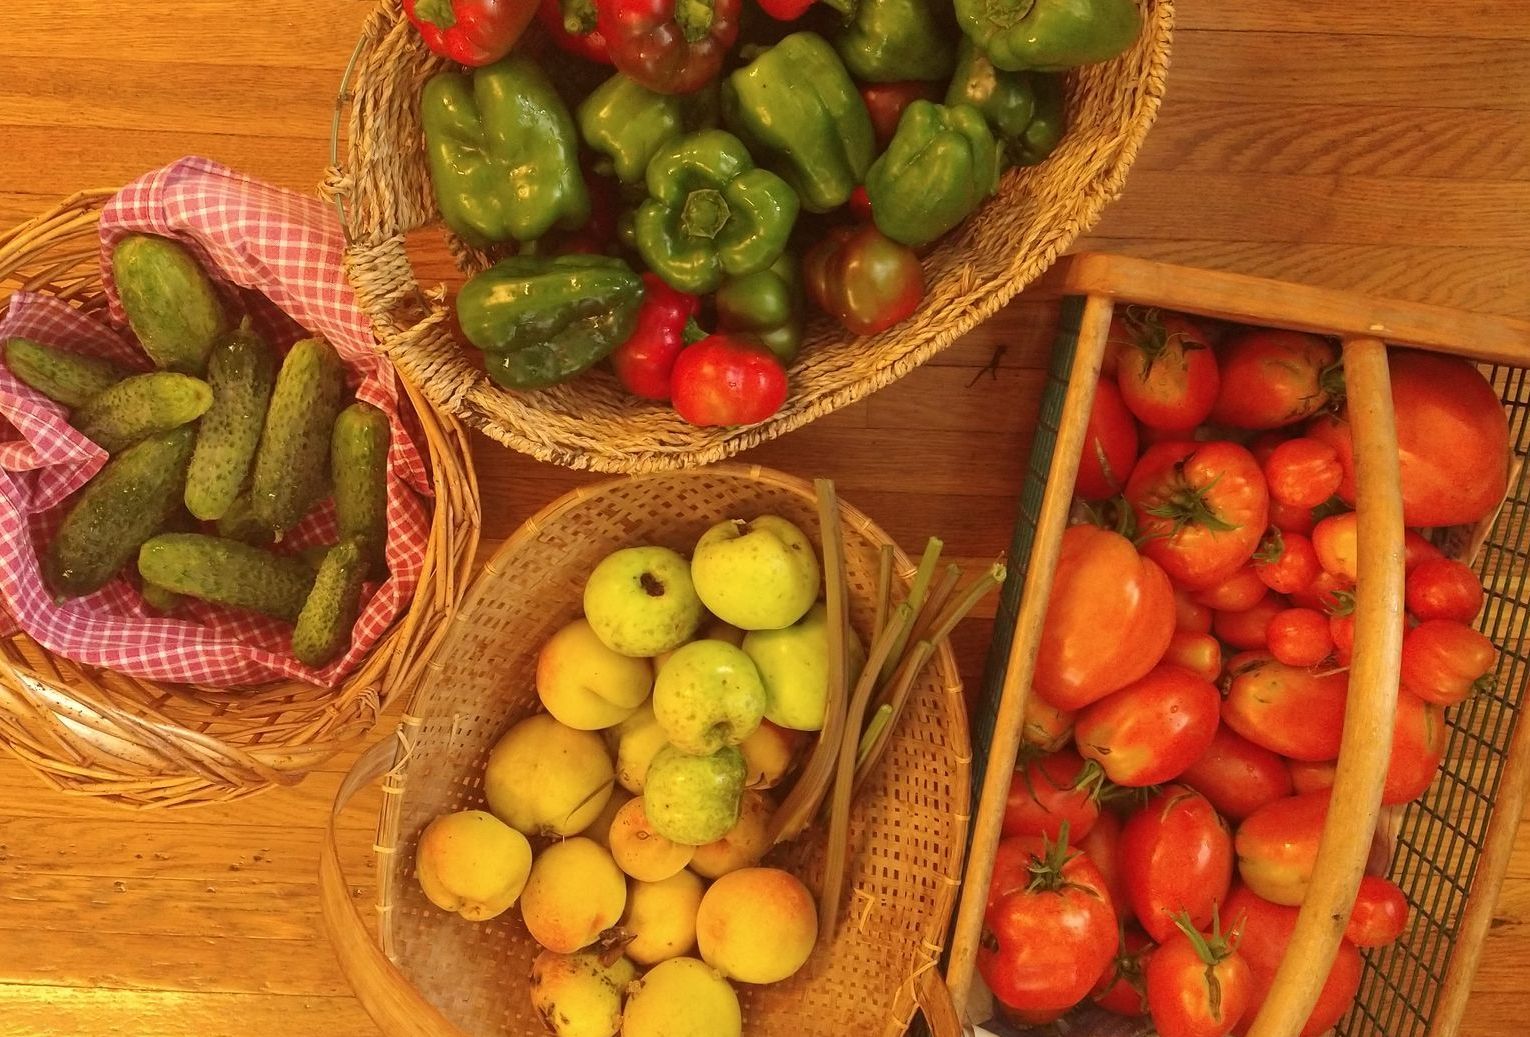
Dried tomatoes or dried fruit from the orchard not only make good snacks, but excellent additions to your winter cooking. It's possible to use either a solar or an electric food dryer. For either way of drying food, you'll get the best results if you follow these suggestions:
- Choose fruit with the least flaws
- Pick fruit fully ripe
- Minimize the time between picking and drying
- Make each slice as uniform as possible
- Pretreat the slices of fruit with a quick soaking in an acid like citric acid or lemon juice so they won't turn brown
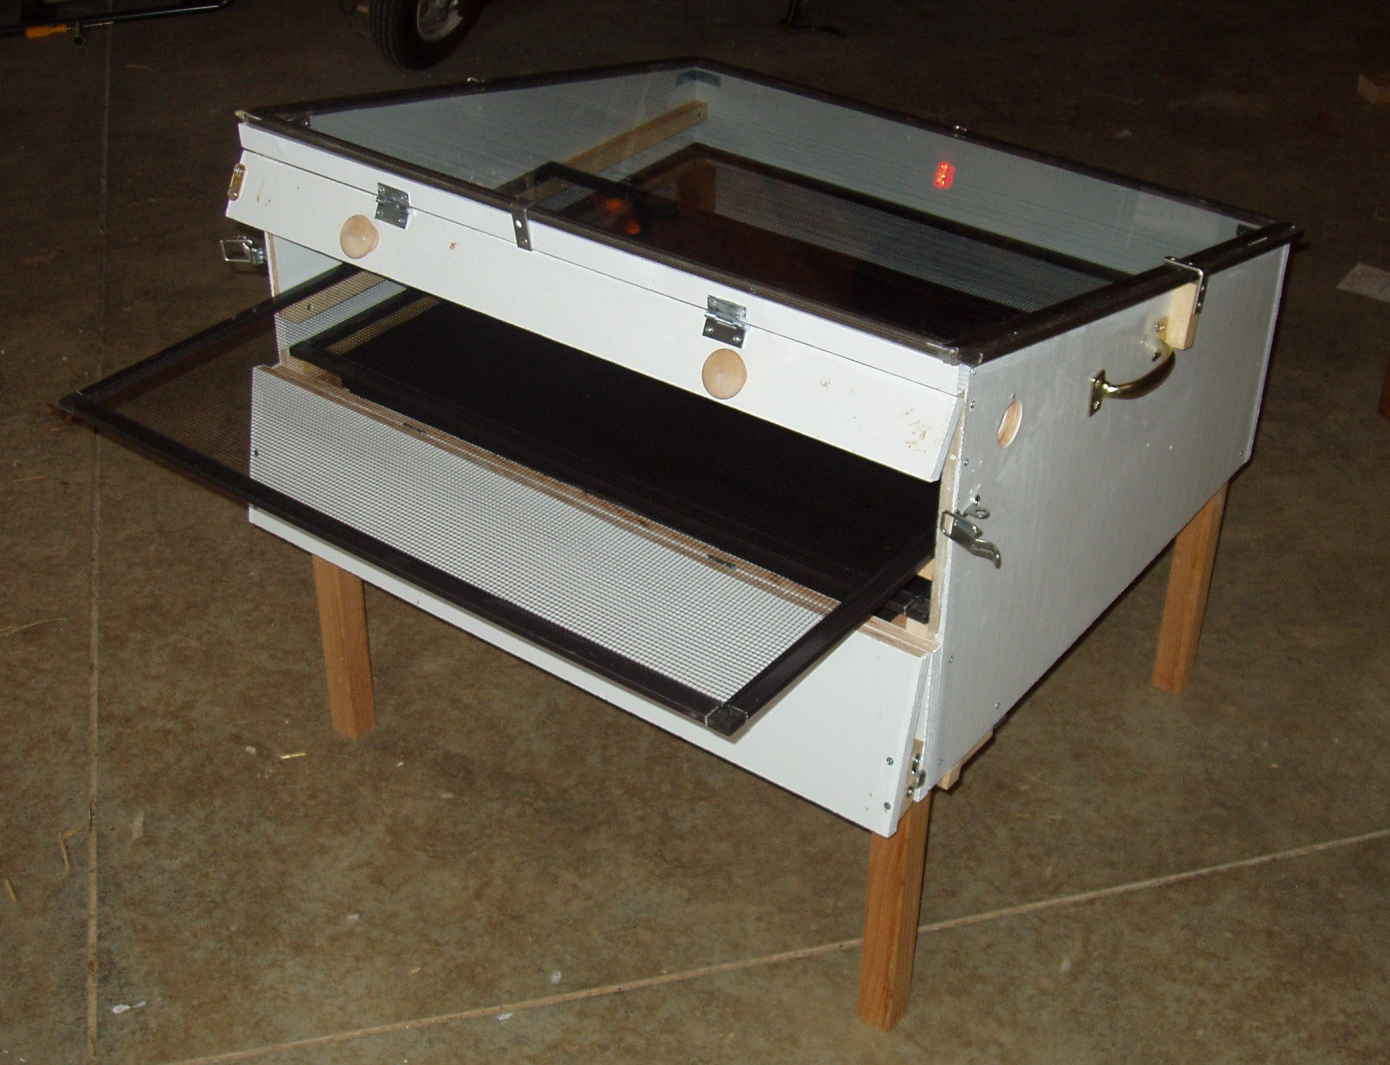
The solar dryer:
This is one type of solar food dryer that my husband made following the directions in the solar food dryer book by Eben Fodor. If we were to do anything differently in the design, it would have been to angle it a bit more to allow the lower sun of later summer to dry crops that don't get ripe in Ohio until later in the summer.
We also found that tomatoes, even when sliced thinly, did not dry in a single day. We therefore added an incandescent lightbulb that we could plug in overnight to keep them from getting moldy. That's was probably cheating with a "solar" dryer!
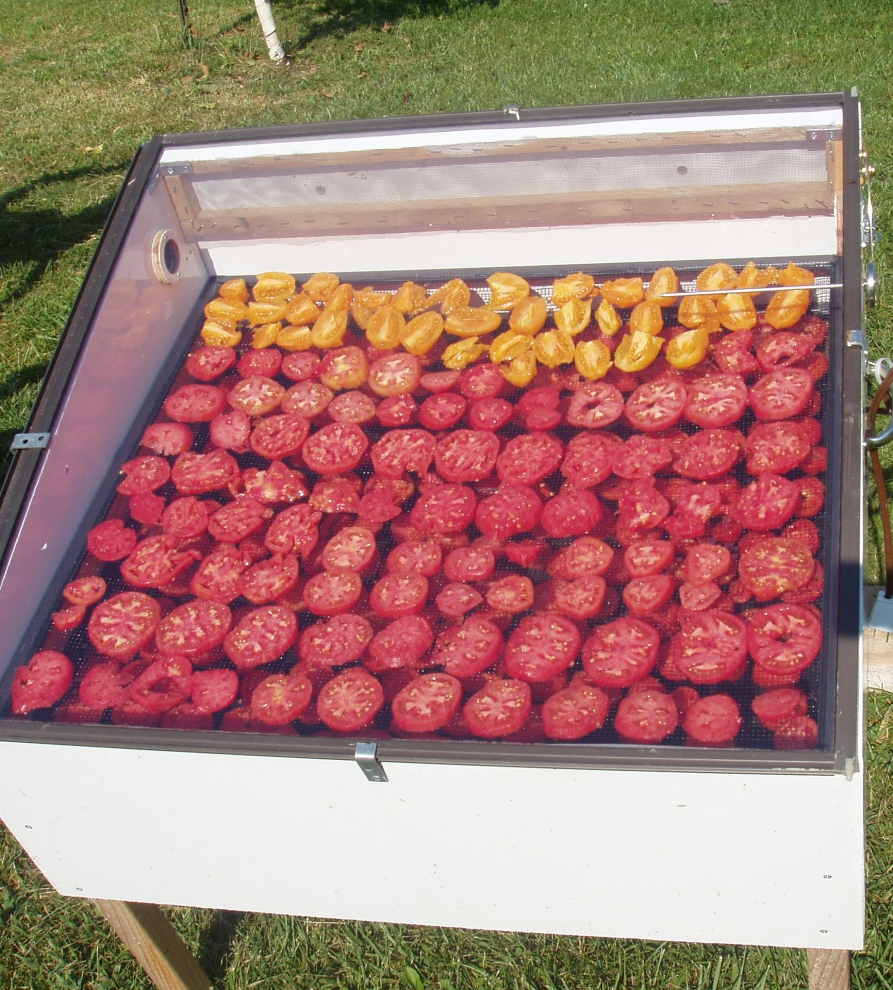
Tomatoes in solar dryer
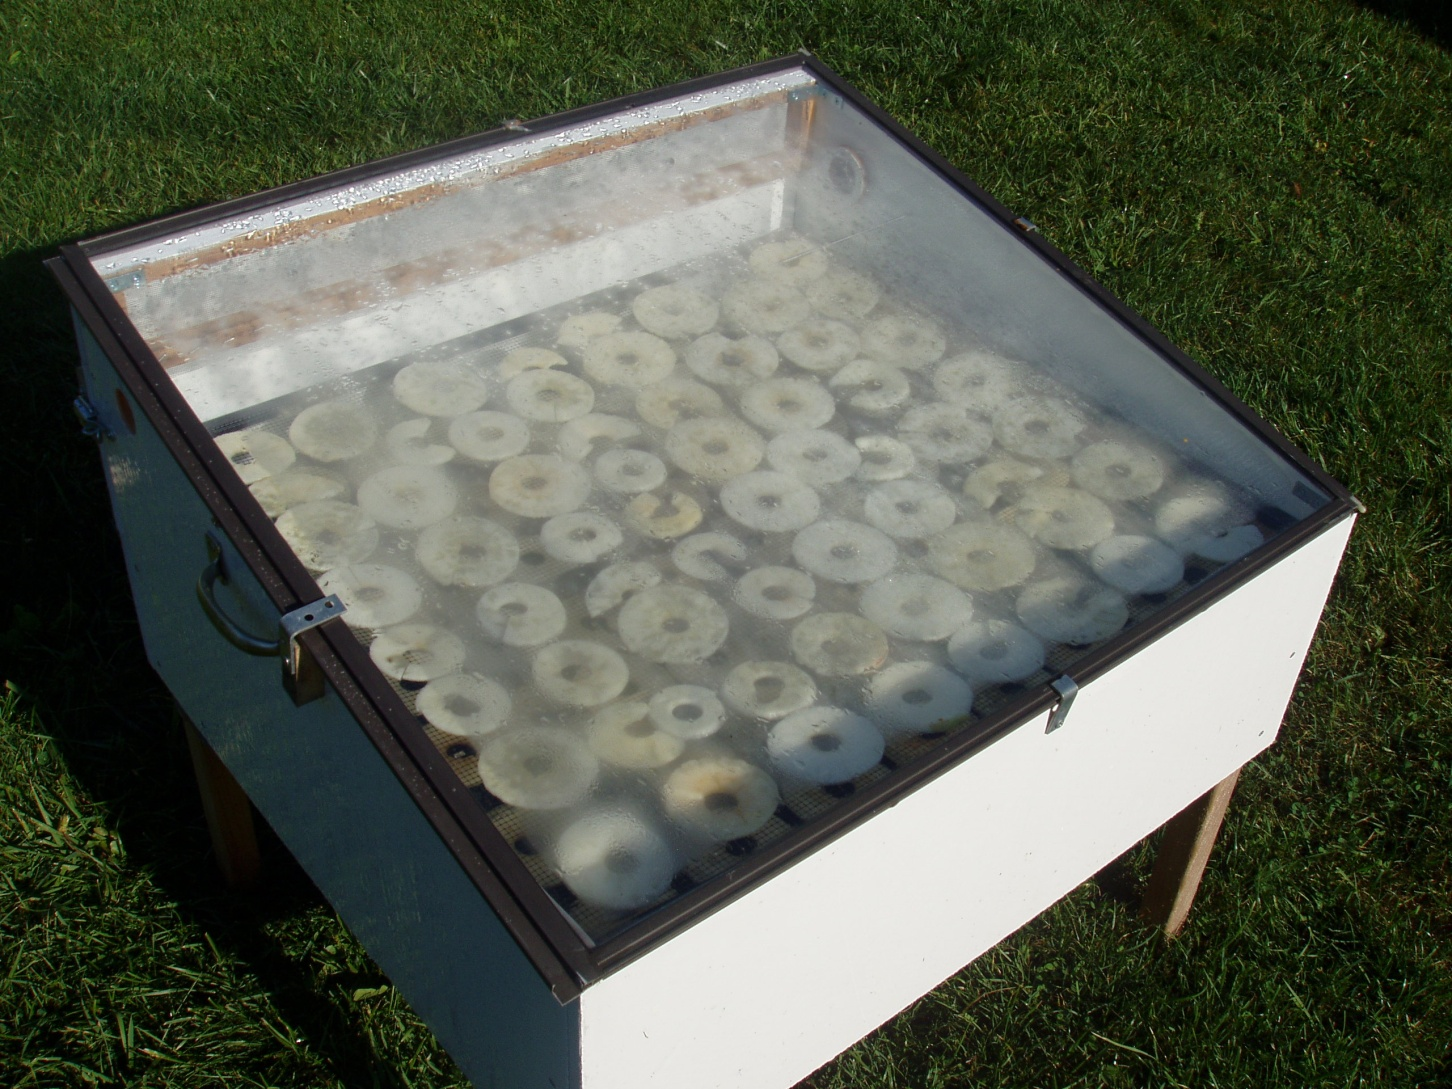
Apples in solar dryer
The electrical dryer:
I mainly use the electric dryer, or "food dehydrator," for drying both apple and tomato slices. Tomatoes are high in water content and so I choose an heirloom variety with small seed cavities. When one of these beautiful large tomatoes was given to me by a friend, he called it a Micki Crane. I have been careful to save its seeds each year so I can keep planting them.
The electric dryer shown is very basic but it does have a fan that allows each layer of fruit to dry at almost the same time. I originally had a less expensive version that didn't have the fan, but it not only required me to keep rotating the racks, but it rarely had the produce dry before bedtime. Not needing to get up at night to rotate those racks was worth the approximate cost of this "Nesco" food dehydrator. It costs around $40, but you can certainly get much more sophisticated and larger ones for up to $200. If I can harvest and prep the produce by mid-morning, it is almost always dry by bedtime, and that's my goal!
Not only can vegetables, lean meats and spices also be dried this way, but with the "vertical dryer" shown, you can always add or subtract the number of trays needed.

Obtaining slender slices:
Cutting tomatoes into uniform thickness is difficult, but beginning with firm but ripe tomatoes helps. I find that a sharp, serrated knife also helps to get the slices as uniform in thickness as possible.
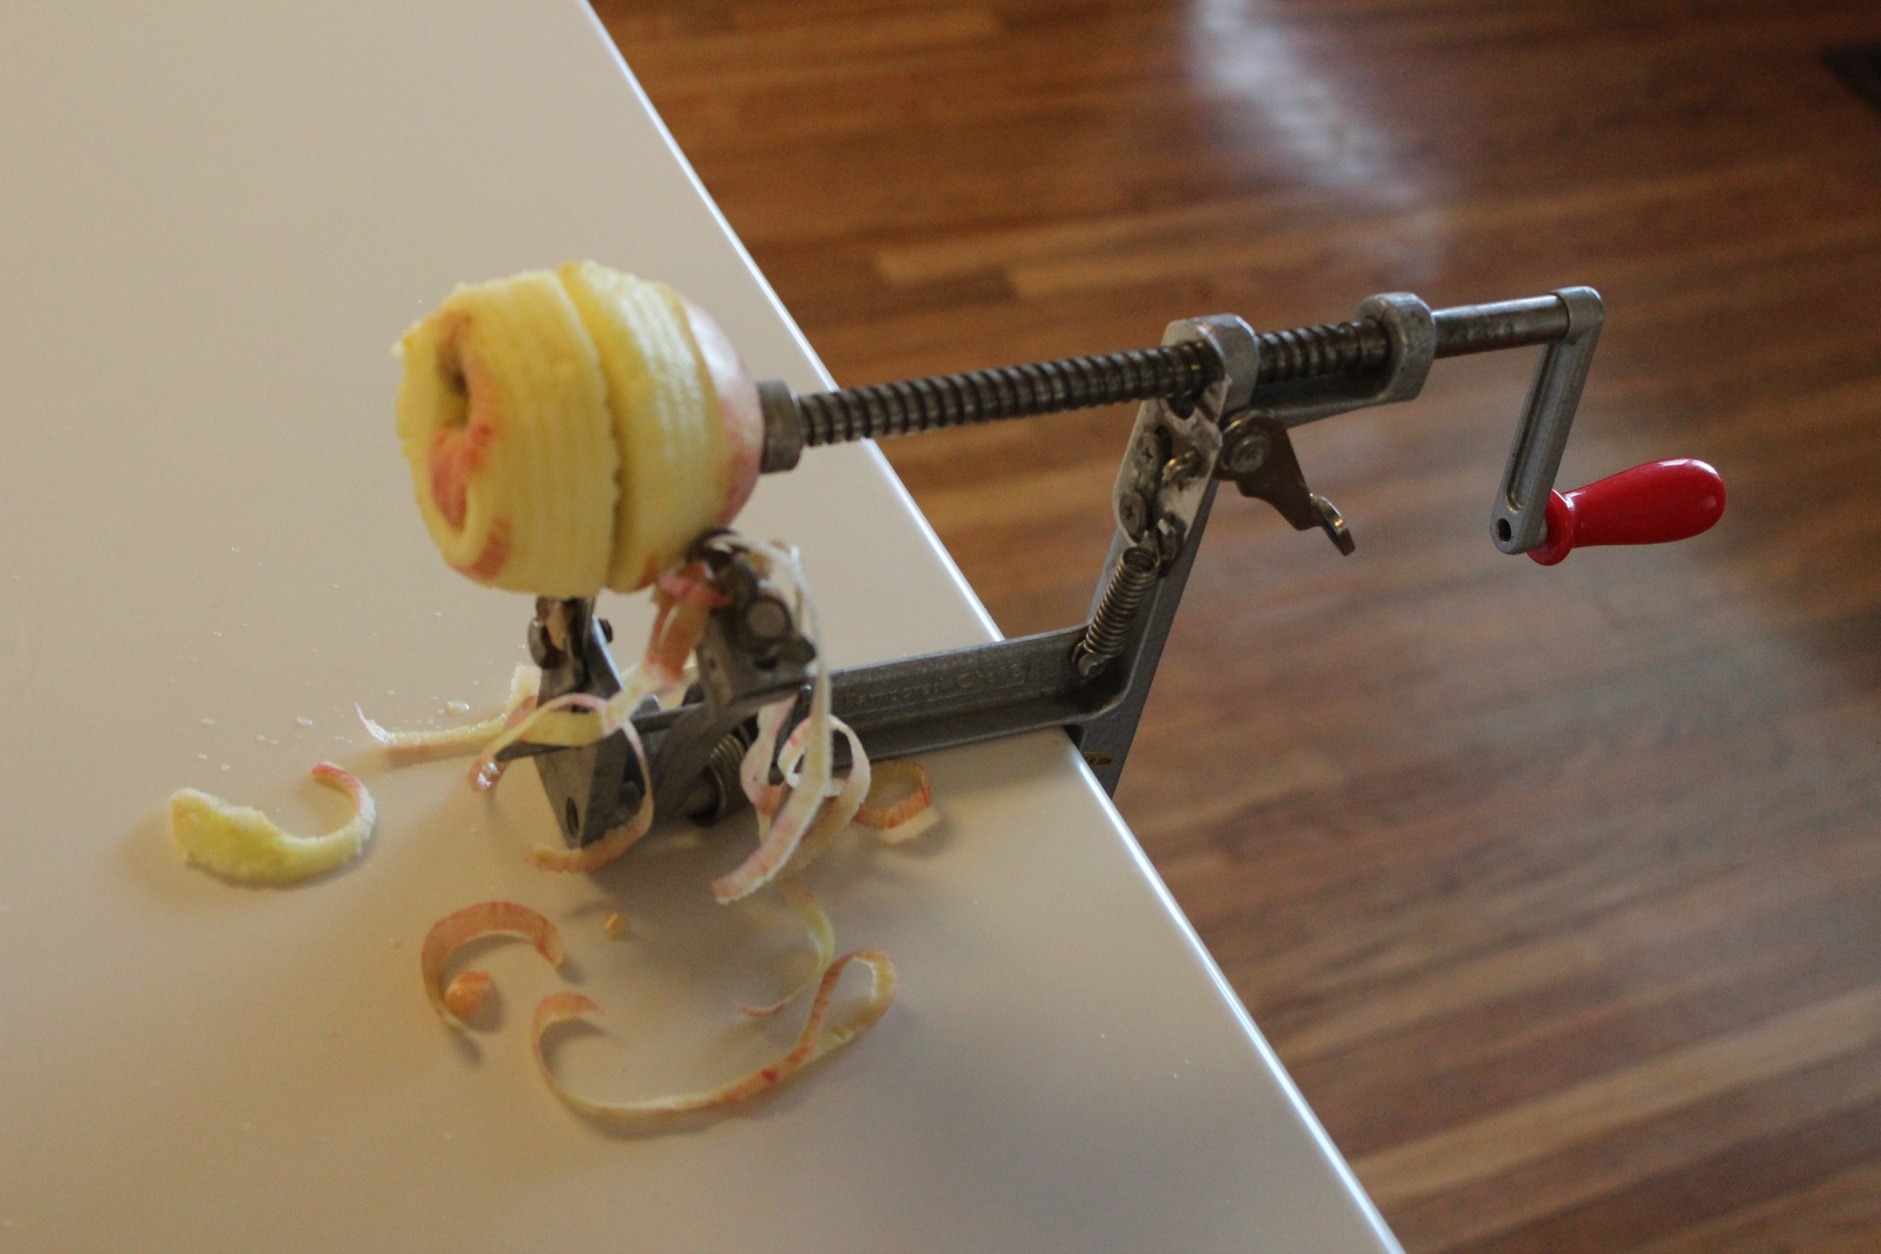
Apples slices are easiest to get uniform with this inexpensive gadget called an apple peeler, slicer, corer. Although it's capable of doing the three tasks at one time, you have the option to not slice or not peel if you choose. I can therefore use it to can chunks of apples that I have just peeled and cored with this gadget. It's one part of food preservation that even a younger child can help with once the apple is mounted on the prongs. Heck, it's fun for even us adults to use!
Storing dried produce:
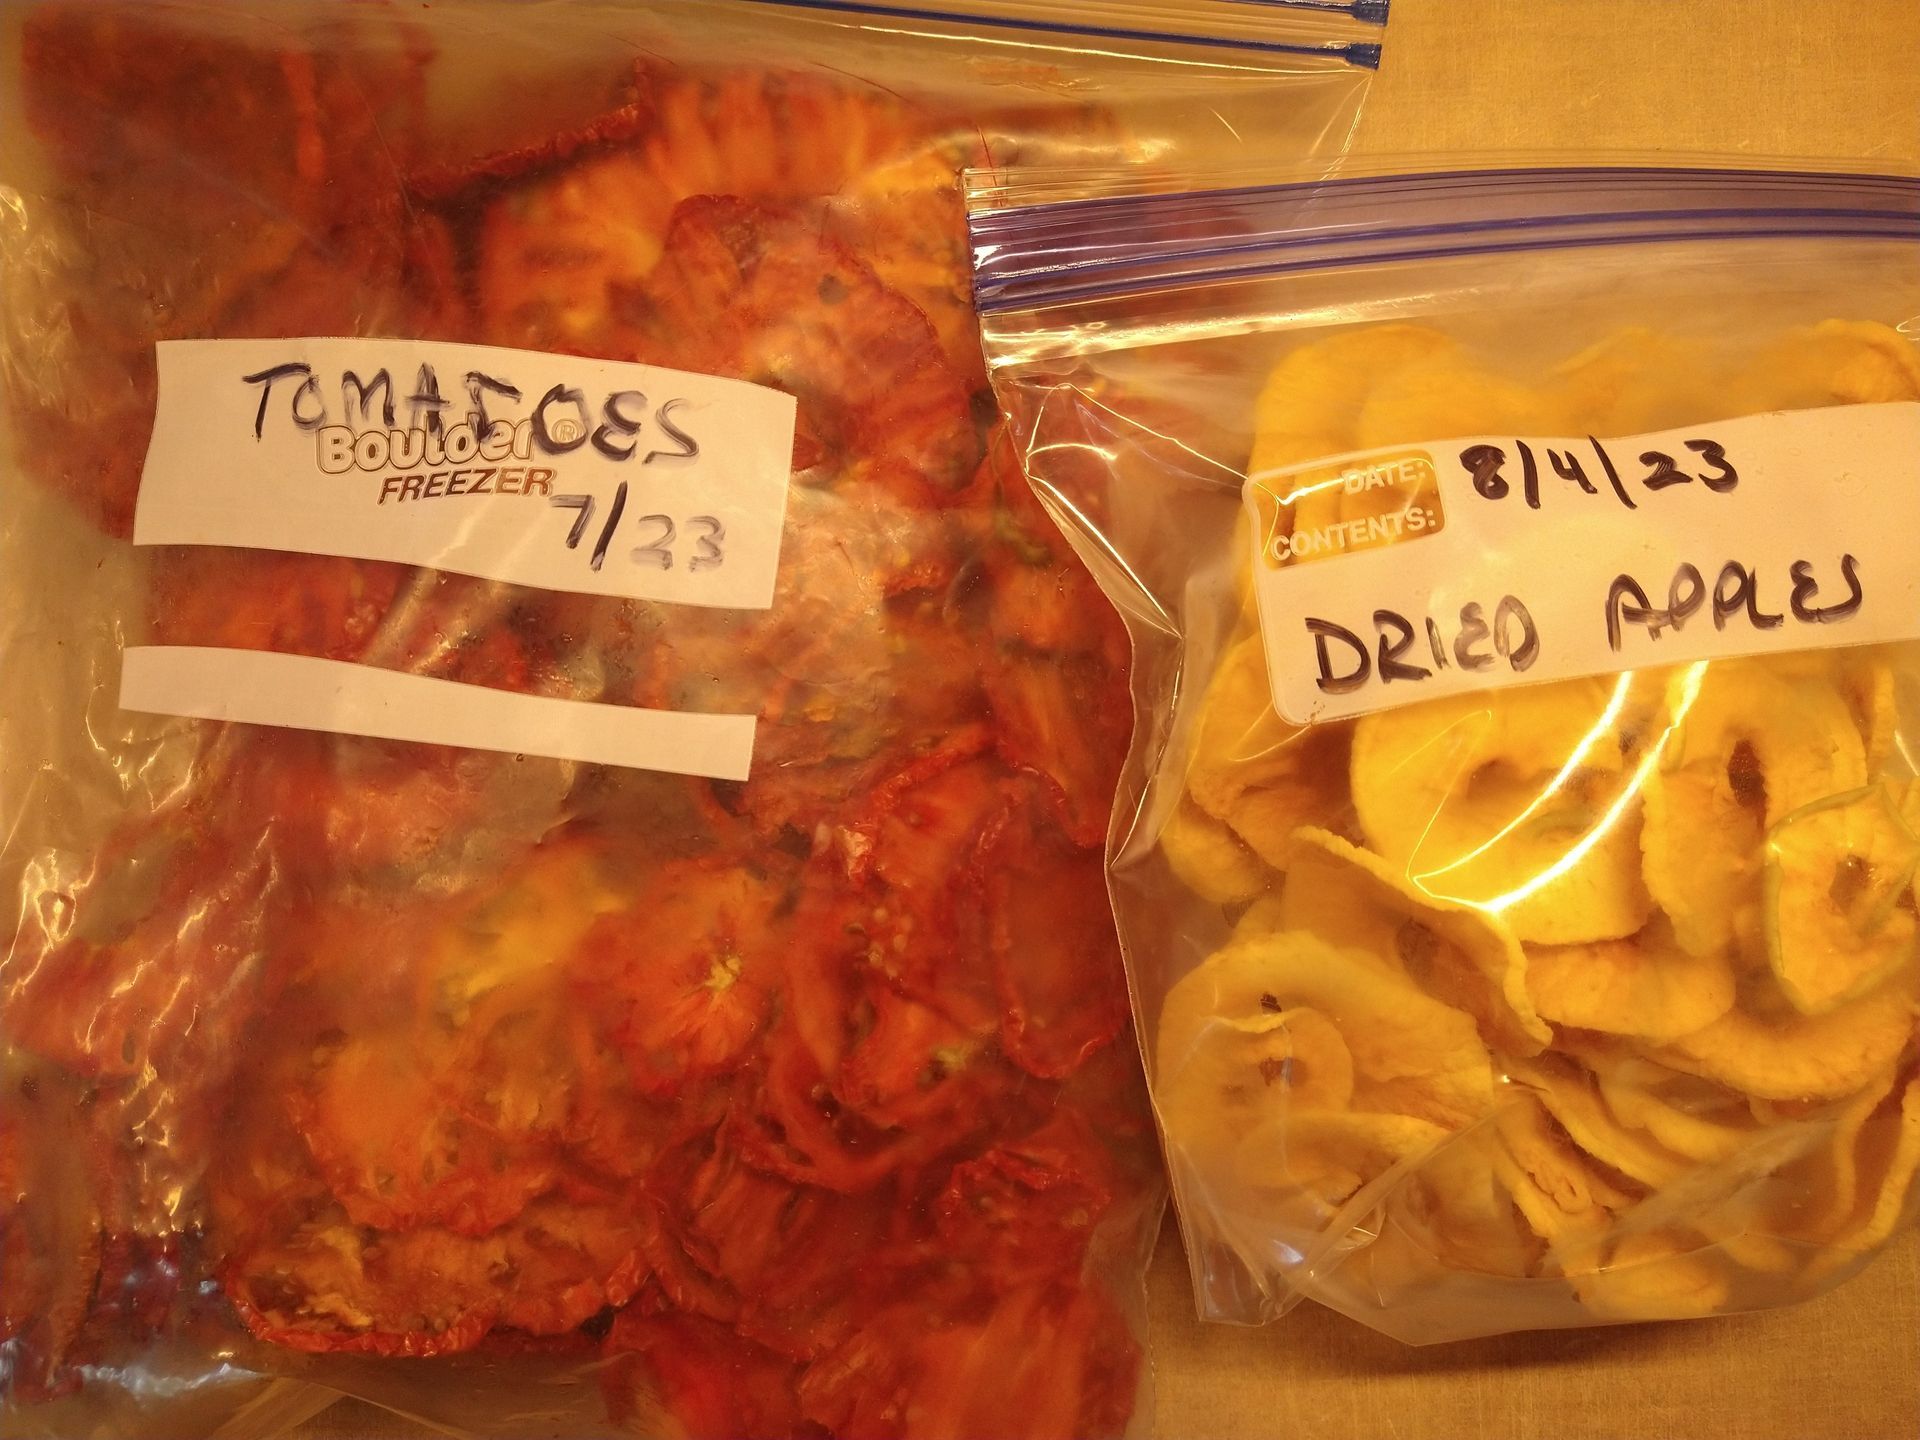
When each batch of fruit or vegetables is dried, we then need to store them in a way that keeps them safe from moisture. If there is room in the freezer, I find that the heavier duty freezer bags work well. I'd like to avoid the plastic altogether, but I at least try to reuse the bags several times for short-term storage of left-overs.
Jars that can be sealed tightly also work for storage as well as any container that has a tight fitting lid. It's best to be able to label each container with a date. I am finding that the silca packs, called "desiccants," will keep produce dried in glass jars which both saves freezer space and reduces the need for plastic.
In the middle of winter, it's such a treat to use these as snacks instead of potato chips! I also rehydrate tomato slices in red wine for use in pasta dishes. Apples rehydrated with juice are great for baking. Enjoy!