Harvest to Freezer: Preserving Garden Produce Through Freezing
Freezing our garden produce is a good option of storage if we have electricity, a freezer (or two!), and are able to consume what we eat during the following year. I like being able to freeze both fruits and vegetables because it's pretty easy and relatively fast. It also is a good option for retaining most nutrients. Proper packaging and airtight containers are crucial to prevent freezer burn, but zip lock bags have made this practical. Below is a simple outline showing how I prepared some garden vegetables for the freezer.
Sweet corn:
Sweet corn always comes at once! To get it at its peak sweetness, before their sugars turn to starch, we need to harvest it in a relatively small window of time. We also need to prep it quickly, because having a long time between harvest and freezing means the wonderful sweetness disappears into a starchy taste.
I favor the freezer for sweet corn instead of canning because, as a low-acid vegetable, it requires pressure cooker canning that can destroy some of the nutrients. In truth, I also don't want "mushy" corn!
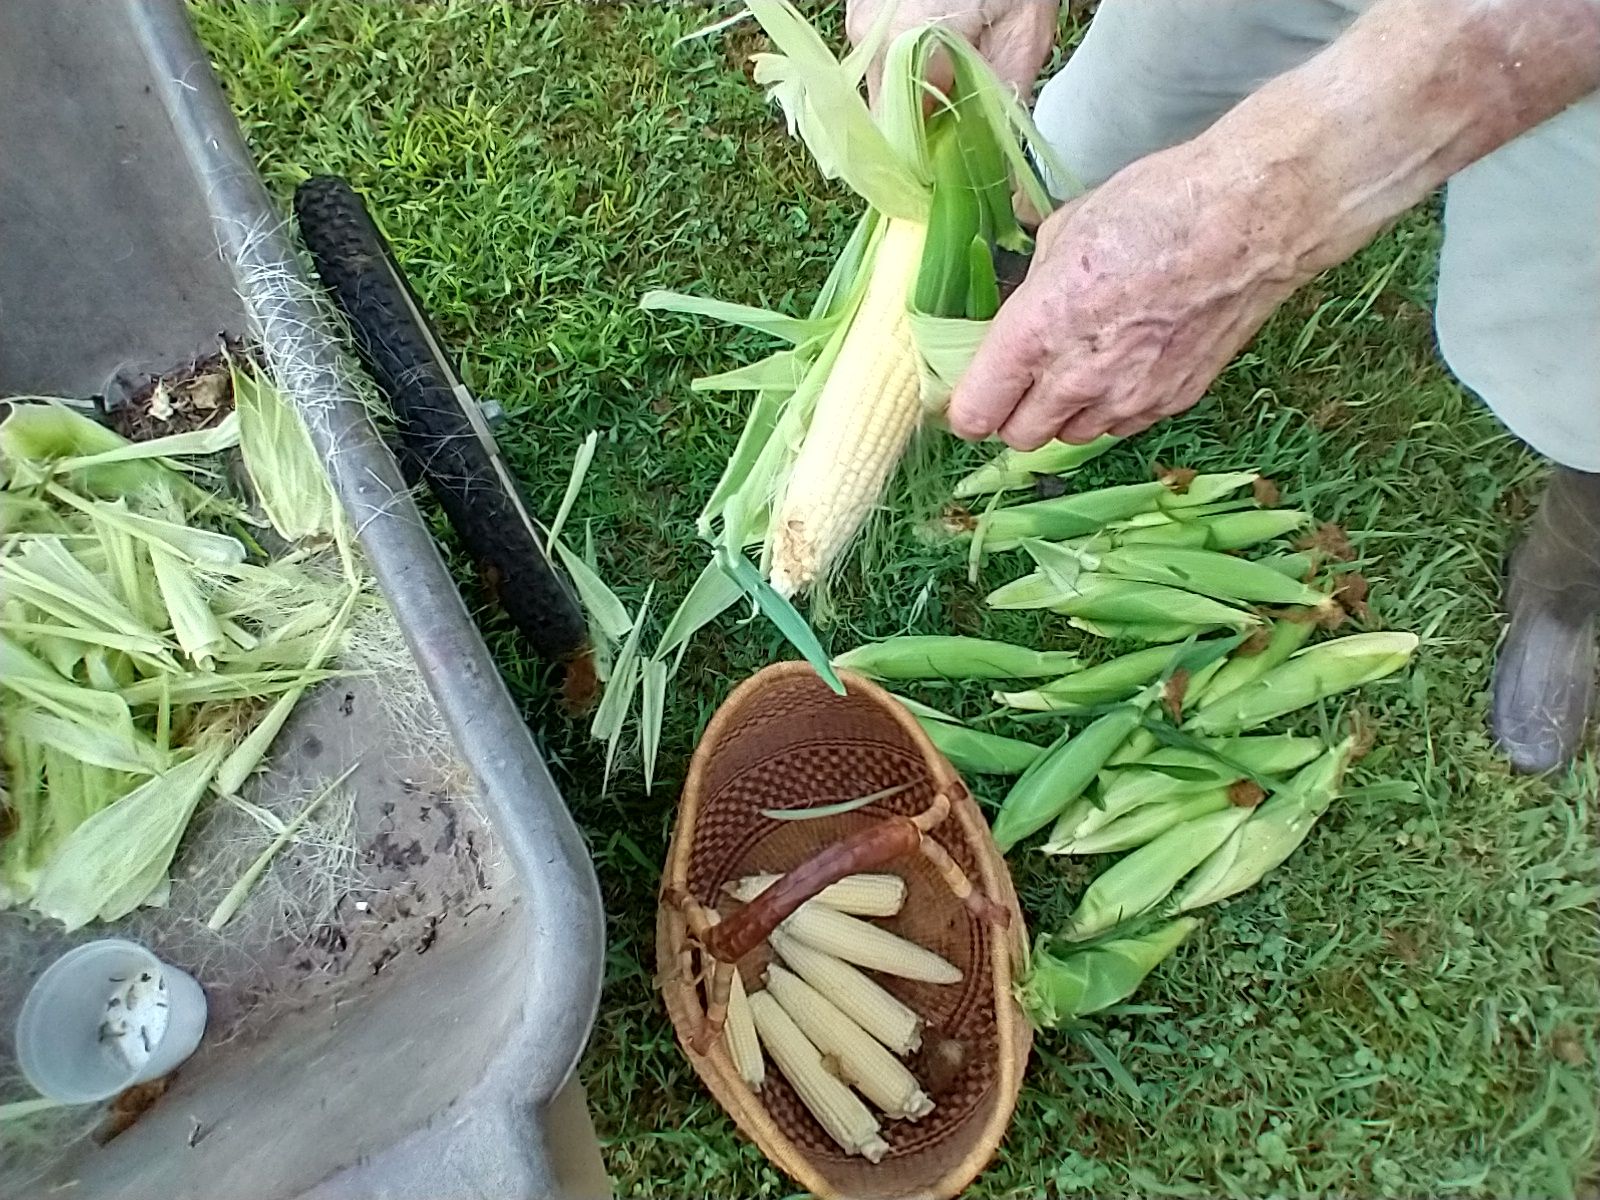
Freezing sweet corn is a team effort at our homestead, so we harvest and shuck as many cobs as we can get into the freezer that day.
Blanching:
Blanching before freezing is more essential for vegetables than fruits. It helps to prevent loss of color and nutrients as well as not letting the texture or flavor change while in the freezer. Blanching can be done in a steamer or boiling water, but the vegetables will retain more vitamins if steamed instead of boiled.
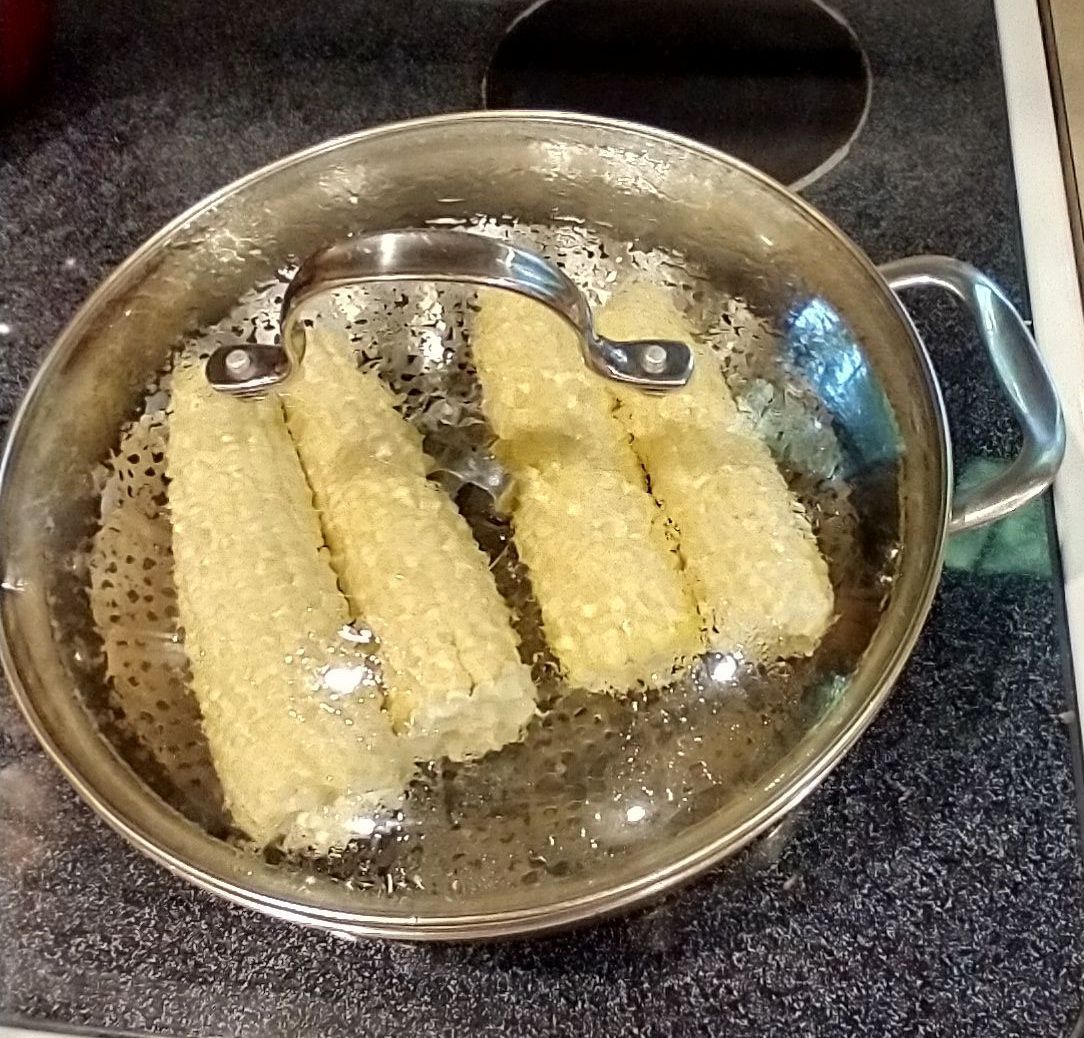
There are steamer pots available, but I use a steamer basket. By placing it in a small amount of water, any vegetable can be steamed for a few minutes before processing further.
First you'll "shuck" the corn and remove most of the "silks," before steaming a few cobs at a time. Have a pan of ice water sitting next to the stove to then transfer each cob of corn in to cool quickly.
If you want to freeze whole cobs of corn, take the cool cobs from the ice water, pat them dry with a clean towel and get them into freezer bags and into the freezer.
I don't have enough freezer space for whole cobs of corn, and so (sour grapes!), winter meals work well for eating sweet corn off the cob.
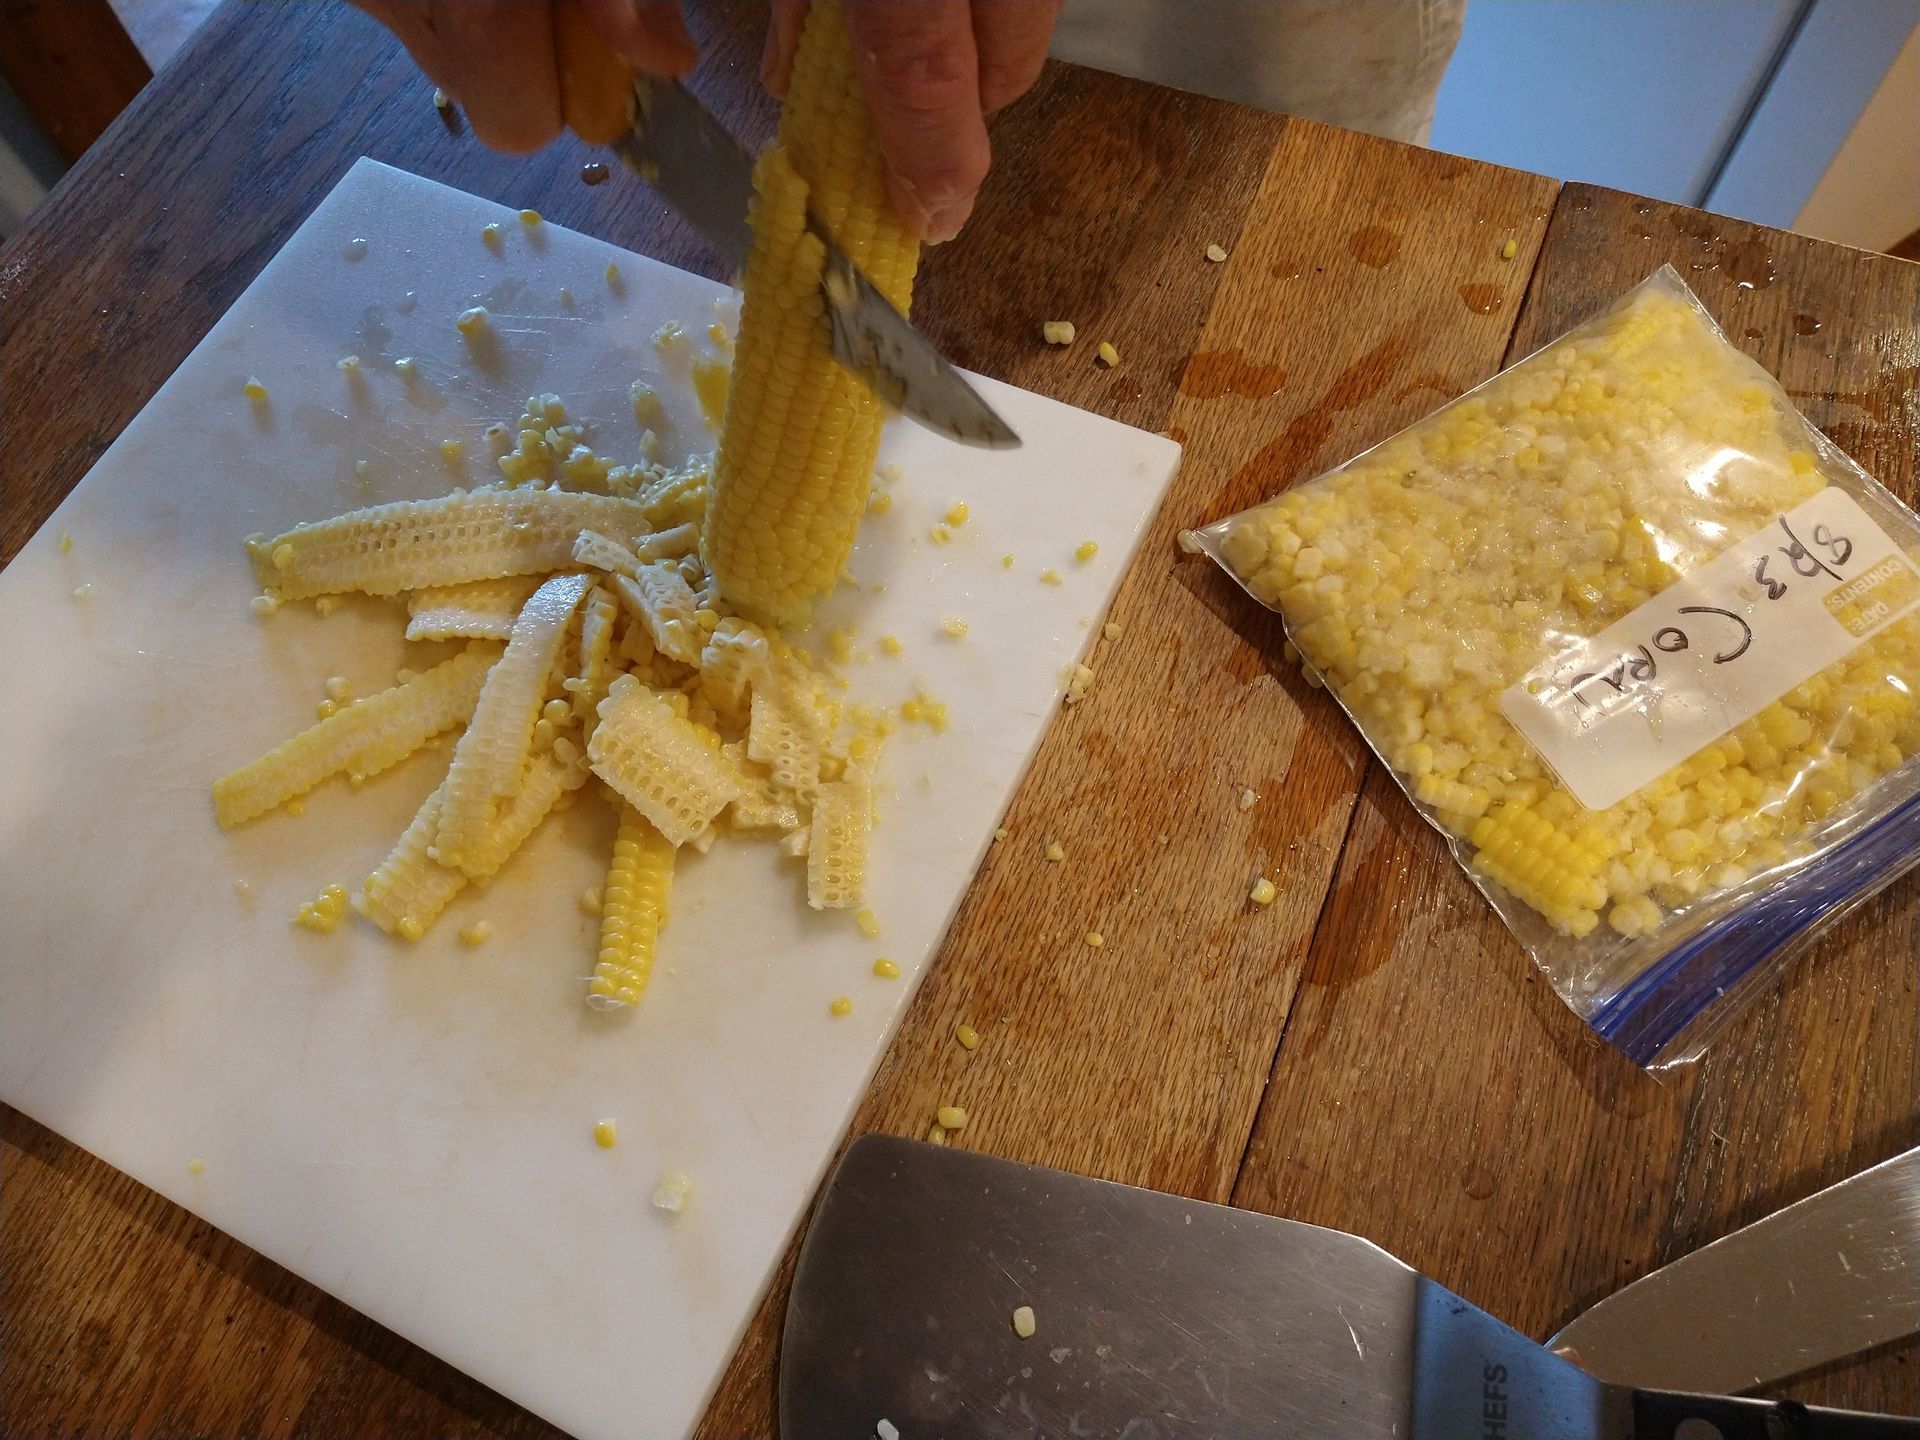
Therefore, the next step is to simply cut off the kernels with a sharpened knife, going top to bottom around the cob. If you cut off the tip of the cob first, it's easier to anchor the cob in a vertical position which will keep your fingers safe from the knife!
I use a spatula to scoop the kernels into the freezer bags. Be sure to press out as much air as possible as you flatten and seal each bag. Before filling, be sure to label each bag with the name of the contents and the date. Your goal is to have frozen produce eaten within a year's time.
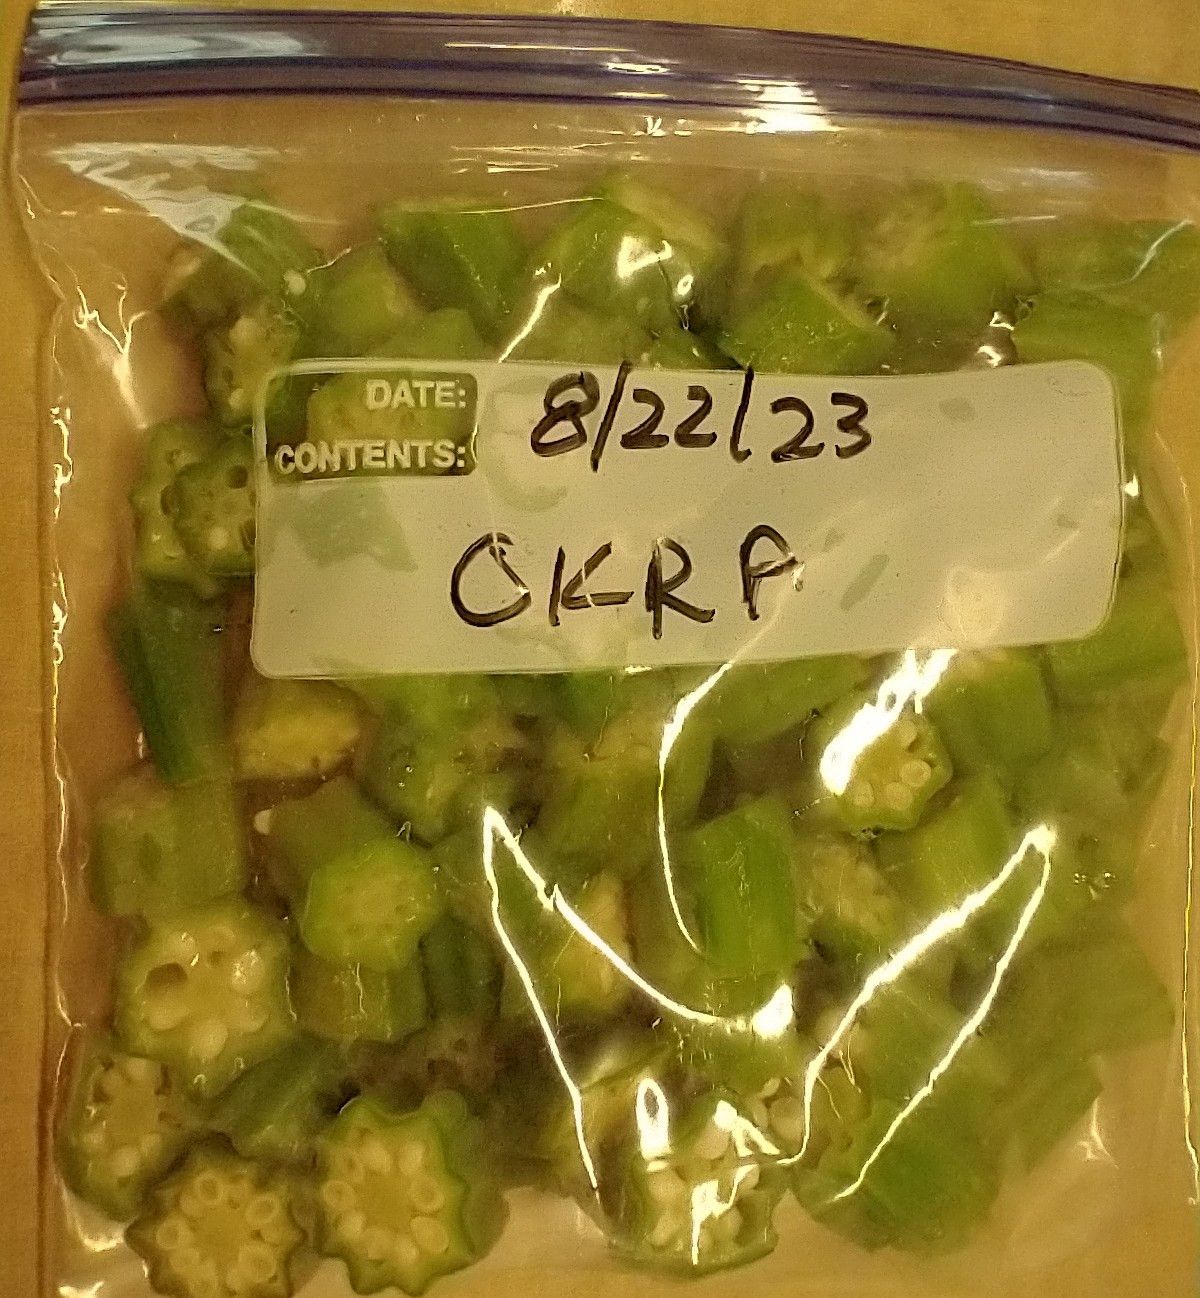
Okra:
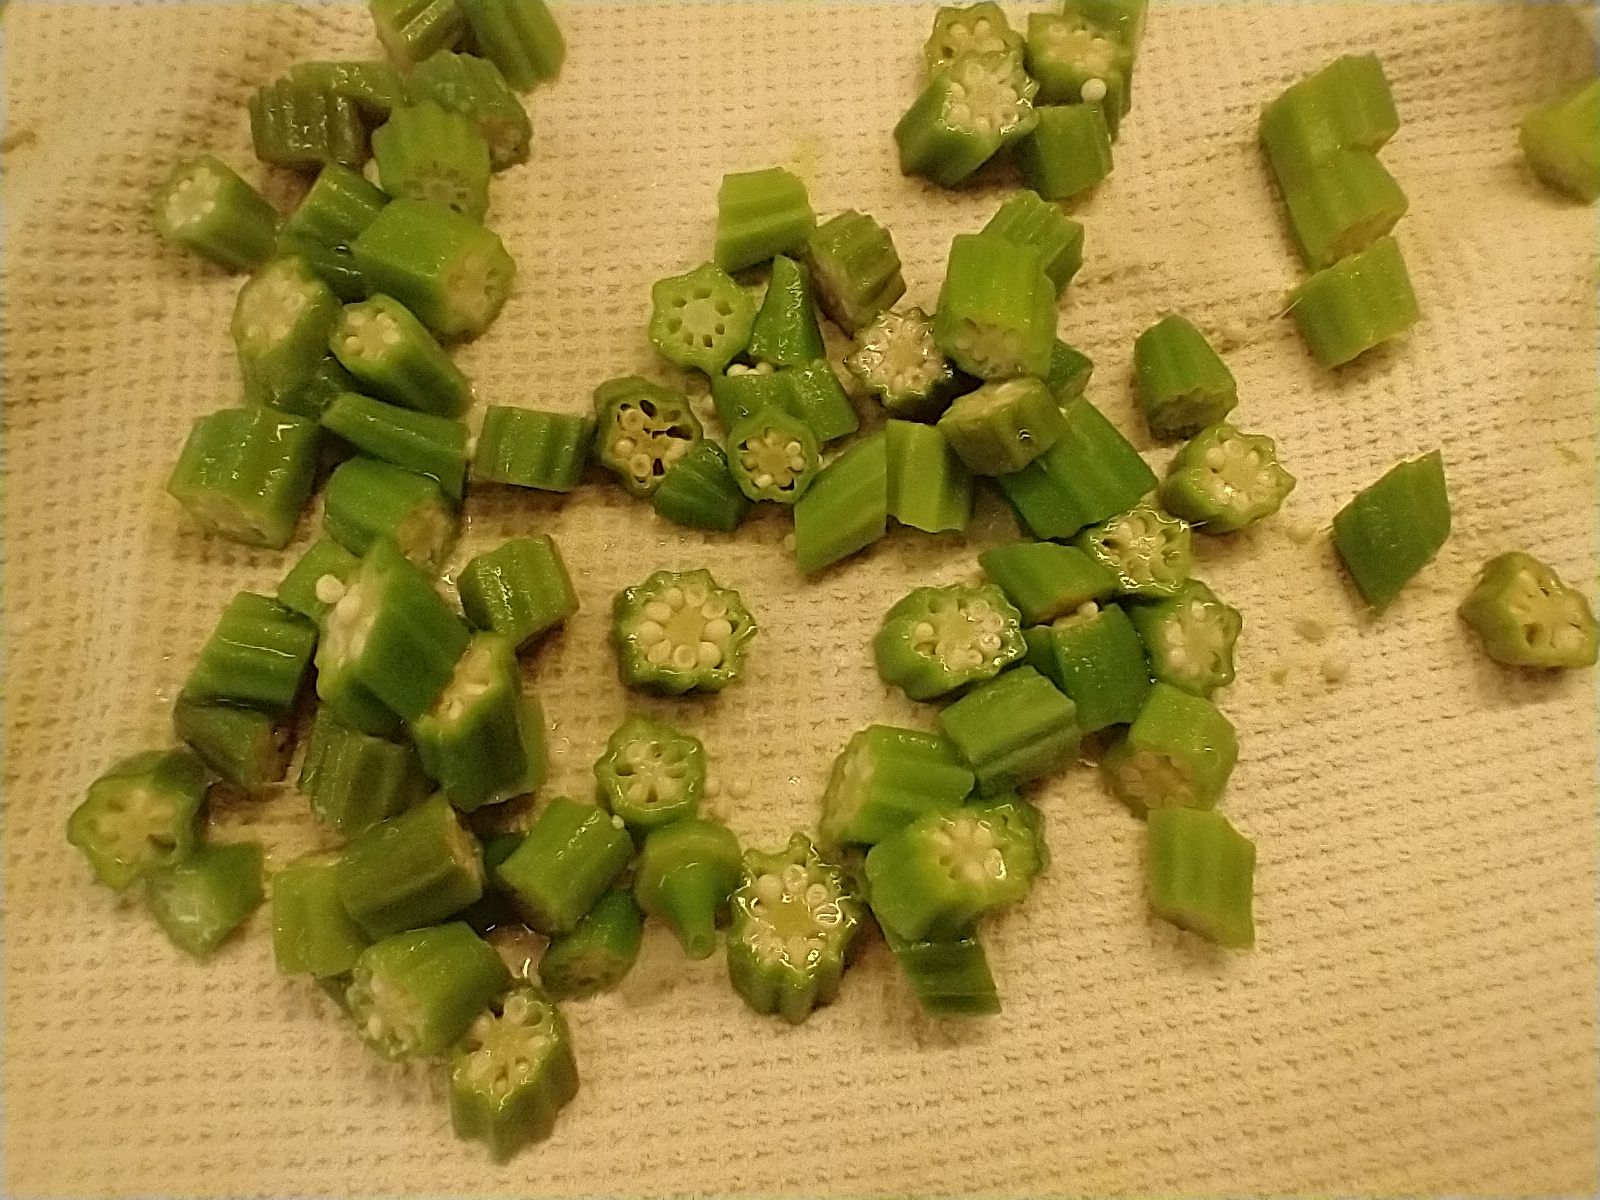
Okra is done very much the same with first choosing tender pods, rinsing them off, then either leaving them whole or cutting them to the desired size and steaming them. Afterwards they will go directly into the ice water briefly to cool.
It's worthwhile to dry the steamed and cooled okra by patting them dry before bagging them in freezer bags.
Other Veggies:
The examples of how-to-freeze sweet corn and okra apply to almost all our garden vegetables: asparagus, beans, broccoli, Brussel sprouts, cabbage, cauliflower, peas and peppers. These are now in quart freezer bags in our freezer and will allow us to eat chemical-free, nutrient-dense vegetables this winter. A quick "cleaning and organizing" of the freezer in the early summer assures me that last year's harvest gets eaten and that there is room to begin storing this year's harvest.
Alternatives to plastic freezer bags:
People ask me about alternatives to using plastic for storing food in the freezer. There are paper alternatives, but they only store food safely for weeks and not months. There's stainless steel options, but I store way too much and too much variety to make this useful for me. A generation ago there were quart containers that stacked in the freezer, but although reusable, that didn't offer an option to plastic. What I have always done is to have a drawer in the kitchen where I put the washed and dried freezer bags once used. Although labeled with "asparagus" or "green beans," I use these bags exclusively throughout the year as I refrigerate, store or share food.
I would very much like to avoid using plastic, so if you have an alternative suggestion, please let me know.
Storing your frozen bounty:
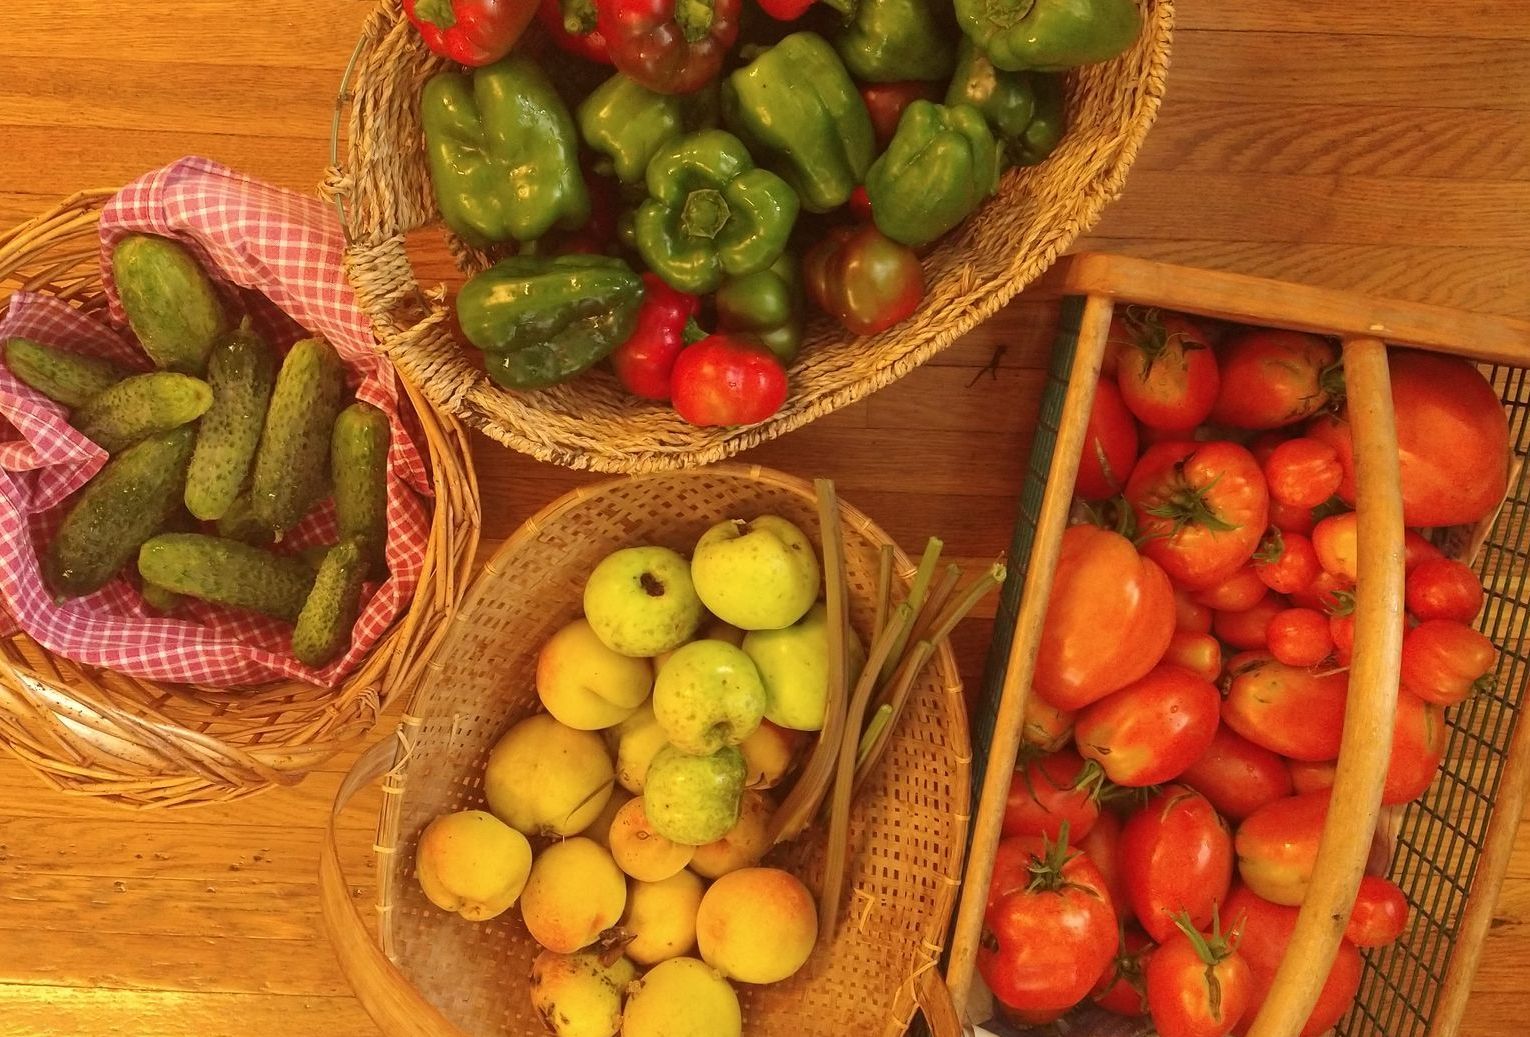
How satisfying it is to view the beauty and bounty of your harvest tucked away in the freezer! Depending on whether you have an upright or chest freezer, or perhaps just the smaller storage space of the refrigerator freezer, it's ideal to have your produce labeled and available when you're ready to prepare a meal. A year is long enough to store frozen food, so be sure to use your older produce first.
I really like being able to "file" the gallon freezer bags in the top trays of our little chest freezer. In late August it contains the springtime rhubarb and strawberries, and then the summer's precious green beans, chopped sweet peppers, chopped onions, broccoli, Brussel sprouts, carrots and lots of sweet corn. That makes for delicious winter meals that are easy to prep.