A How-To Guide for Starting Garden Plants Indoors
Why Start from Seeds?
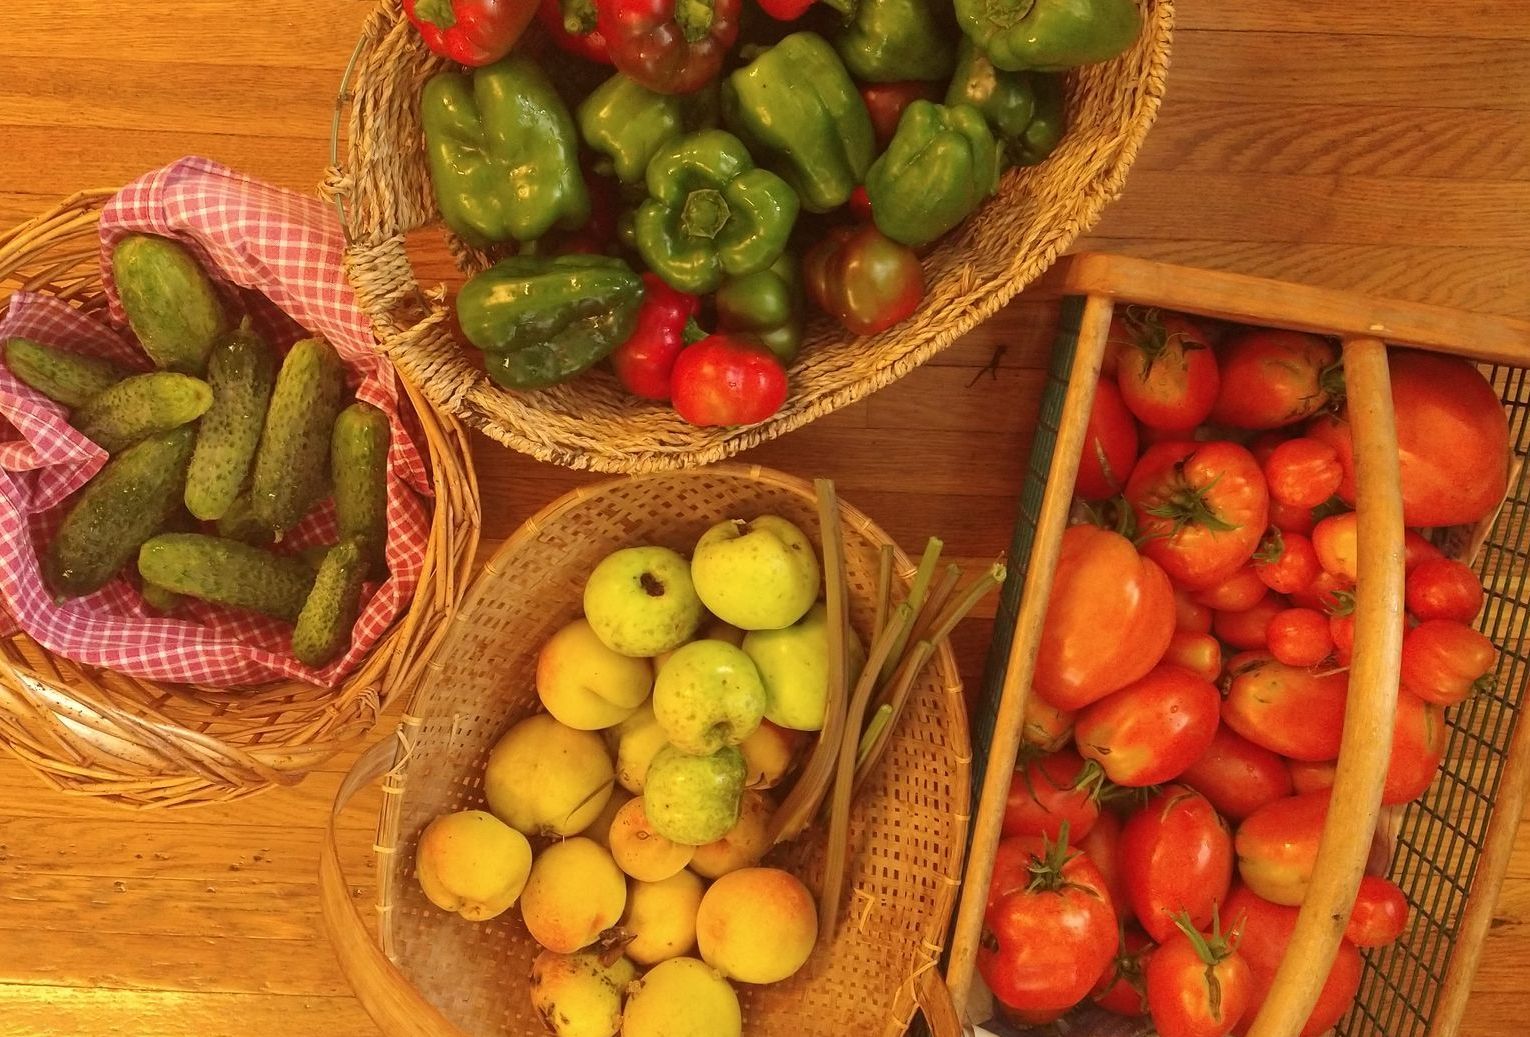
Growing our garden plants from seeds takes time, effort and materials, so it's fair to ask, "Why bother?" But for those of us who enjoy getting our hands in the soil while it's still cold outside, we know it's a great therapy when the winters get long. Our practical sides also know that saving and buying seeds is far cheaper than waiting for the frost-free date and then buying plants at a store or nursery. Beginning plants as seeds also gives us the option of far more varieties. Another big reason for many of us is that we want to save precious heirloom varieties of fruits and vegetables. The corporate world has reduced hundreds of varieties to only a few, and we who grow our own food can help save rare, heirloom varieties for future generation. I'll admit that growing heirloom varieties of fruits and vegetables also gives us some incredibly flavorful food. For all of these reasons, let's begin some of our garden plants indoors from seeds!
Where to Find Seeds:
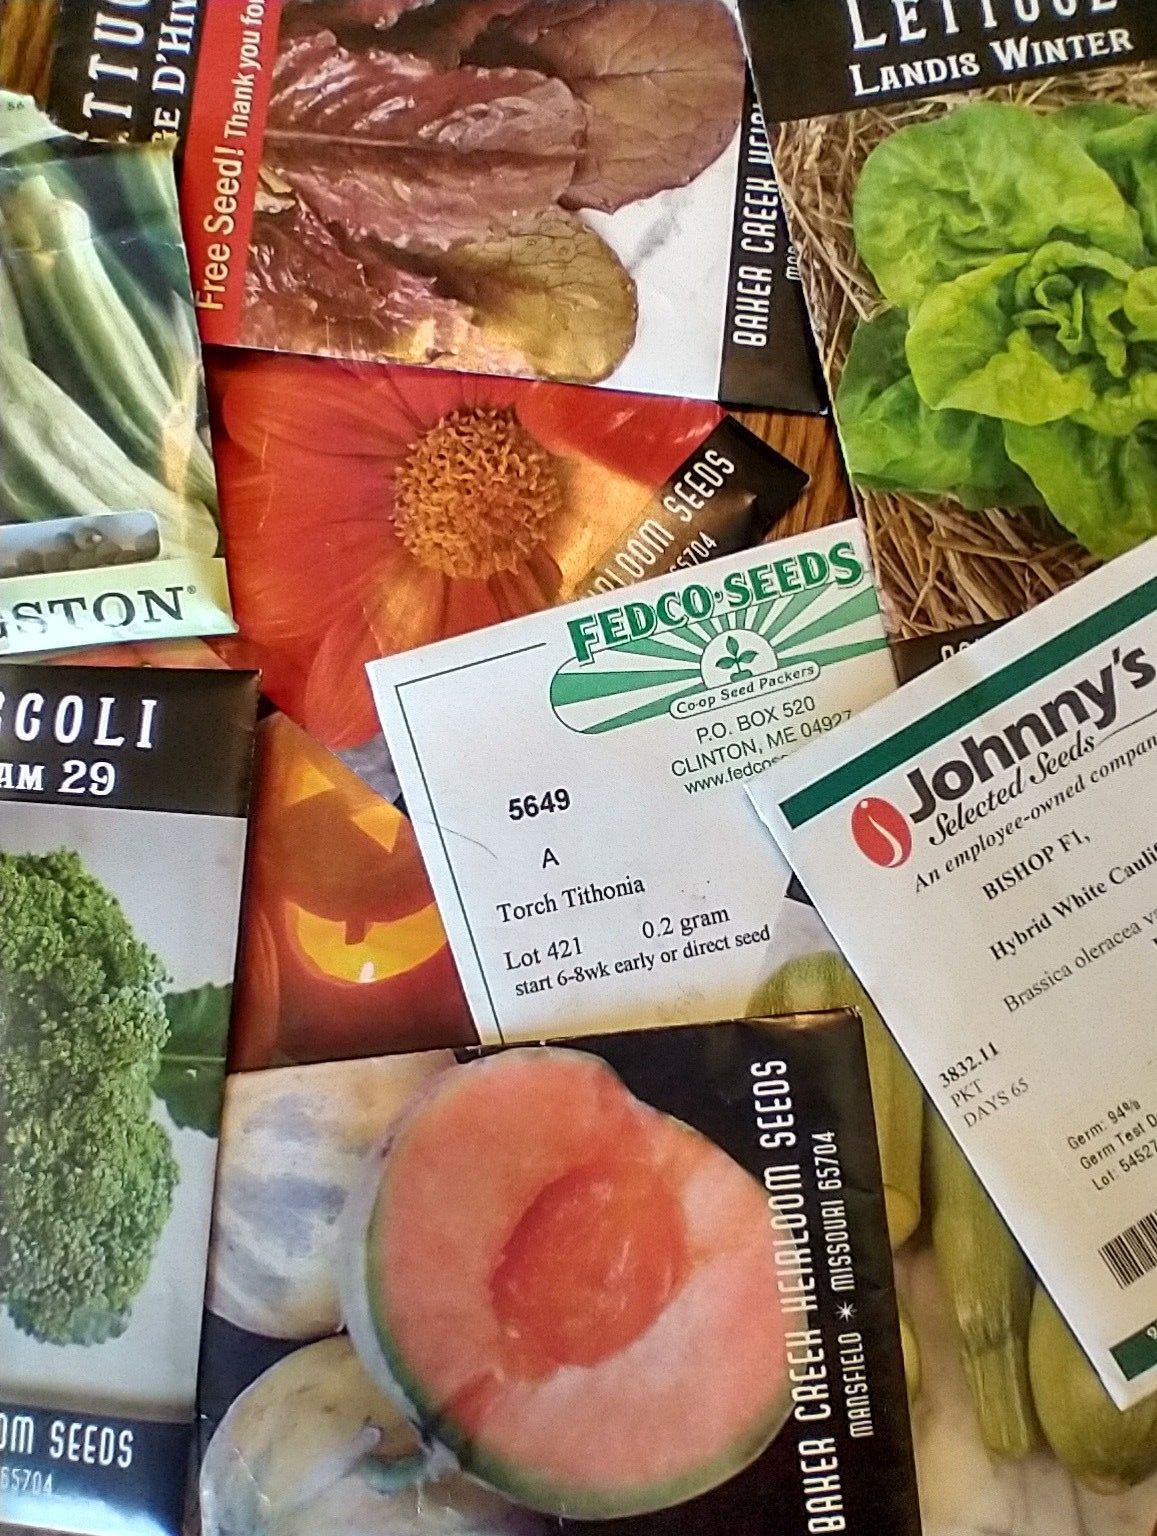
In the midst of winter, the seed catalogs begin to arrive in the mail. If you haven't ordered seeds before, consider looking online for what various seed catalogs have to offer. Treat yourself also to ordering a catalog or two. Catalogs allow us to enjoy dreaming of our gardens while it's still cold outdoors.
I like ordering from companies who give priority to heirloom seeds as well as organics. Fedco and Johnny's Seeds are a couple of my favorite. If you know of local seed companies or others that support your values, order from them.
Nature saves her seeds over-winter, and I also enjoy doing that. That's why you'll find seed packages from previous years stored in moisture-proof containers in our freezer. I also label and saved seeds from the previous year's harvest of vegetables, flowers and fruits. I usually go through these before buying what I still need from those pretty seed catalogs!
Basic Equipment
Pots and trays:
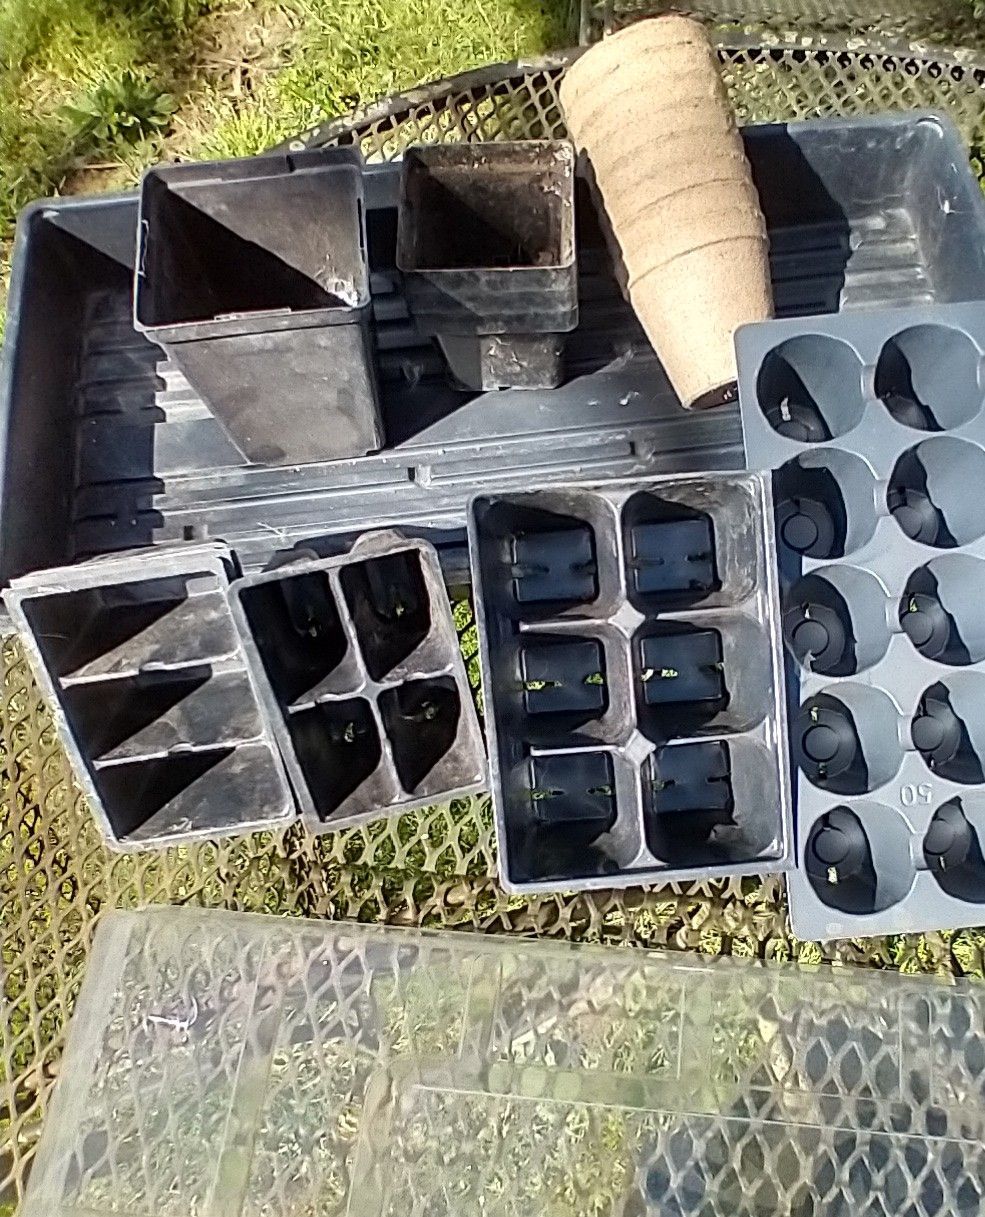
I begin by gathering the variety of containers that have accumulated through the years. Most seeds will be started in 12-by-22-inch flats before they'll be transplanted to divided containers. These containers are usually four, six or eight "cells" that will fit in the larger flats. It's handy to purchase clear plastic covers for the flats, though I've also used saran wrap. By covering the seeds when they're first watered, they'll stay moist until they sprout and will then be uncovered for ventilation. Inside your home, it'll also be helpful to have non-porous trays underneath the containers to collect excess water.
Recycled containers:
If this is your first year of starting garden plants from seeds indoors, you may not need to buy lots of extra containers. Our organic yogurt and peanut butter containers are not recyclable and so I save these to use for containers. The 32 oz. yogurt containers are too tall, and so I cut about 3" off the top. These tops are used as protective barriers around small plants when they are first put in the garden. The bottom halves, and other shorter containers, are used for transplanting seedlings from the flats. Transplanting isn't done until the seedlings have their "true" or secondary leaves.
Be sure to put holes in the bottom of each container to allow for adequate drainage. I do this by using a soldering iron on the up-side-down containers.

I notice that many sources recommend sanitizing previously used containers with a 10% bleach solution, but I leave that up to you. I don't want "bad microbes" to hurt the seedlings, but can’t see the logic in sanitizing the containers. Using one part bleach to nine parts of water is the same strong concentration that is used in hospitals, and it doesn’t seem fitting in the natural world where nature places her seeds in the living soil. Therefore, most years the containers I use are “cleaned but not sanitized."
Soil: Although our precious compost is essential for growing nutrient-dense produce, the seeds themselves do best in seed-starter planting media because it has a very fine texture and it's disease-free. You can also mix your own seed starting soil with:
- 1 part sphagnum peat moss (or coco coir, which is the more sustainable choice)
- 1 part perlite
- 1 part vermiculite
The reason that you start seeds in different soil is because they don't need any nutrients at first. They're self-contained little miracles with all the nutrients they need to get started. The first "seed leaves" and the young tap root will entirely grow from the nutrients a seed contains. When the seedlings are transplanted into individual containers, that's when you'll use soil which is either sifted compost or a purchased growing mix. If I have plenty of the seed-starter soil, I will then just add nutrients as explained below.
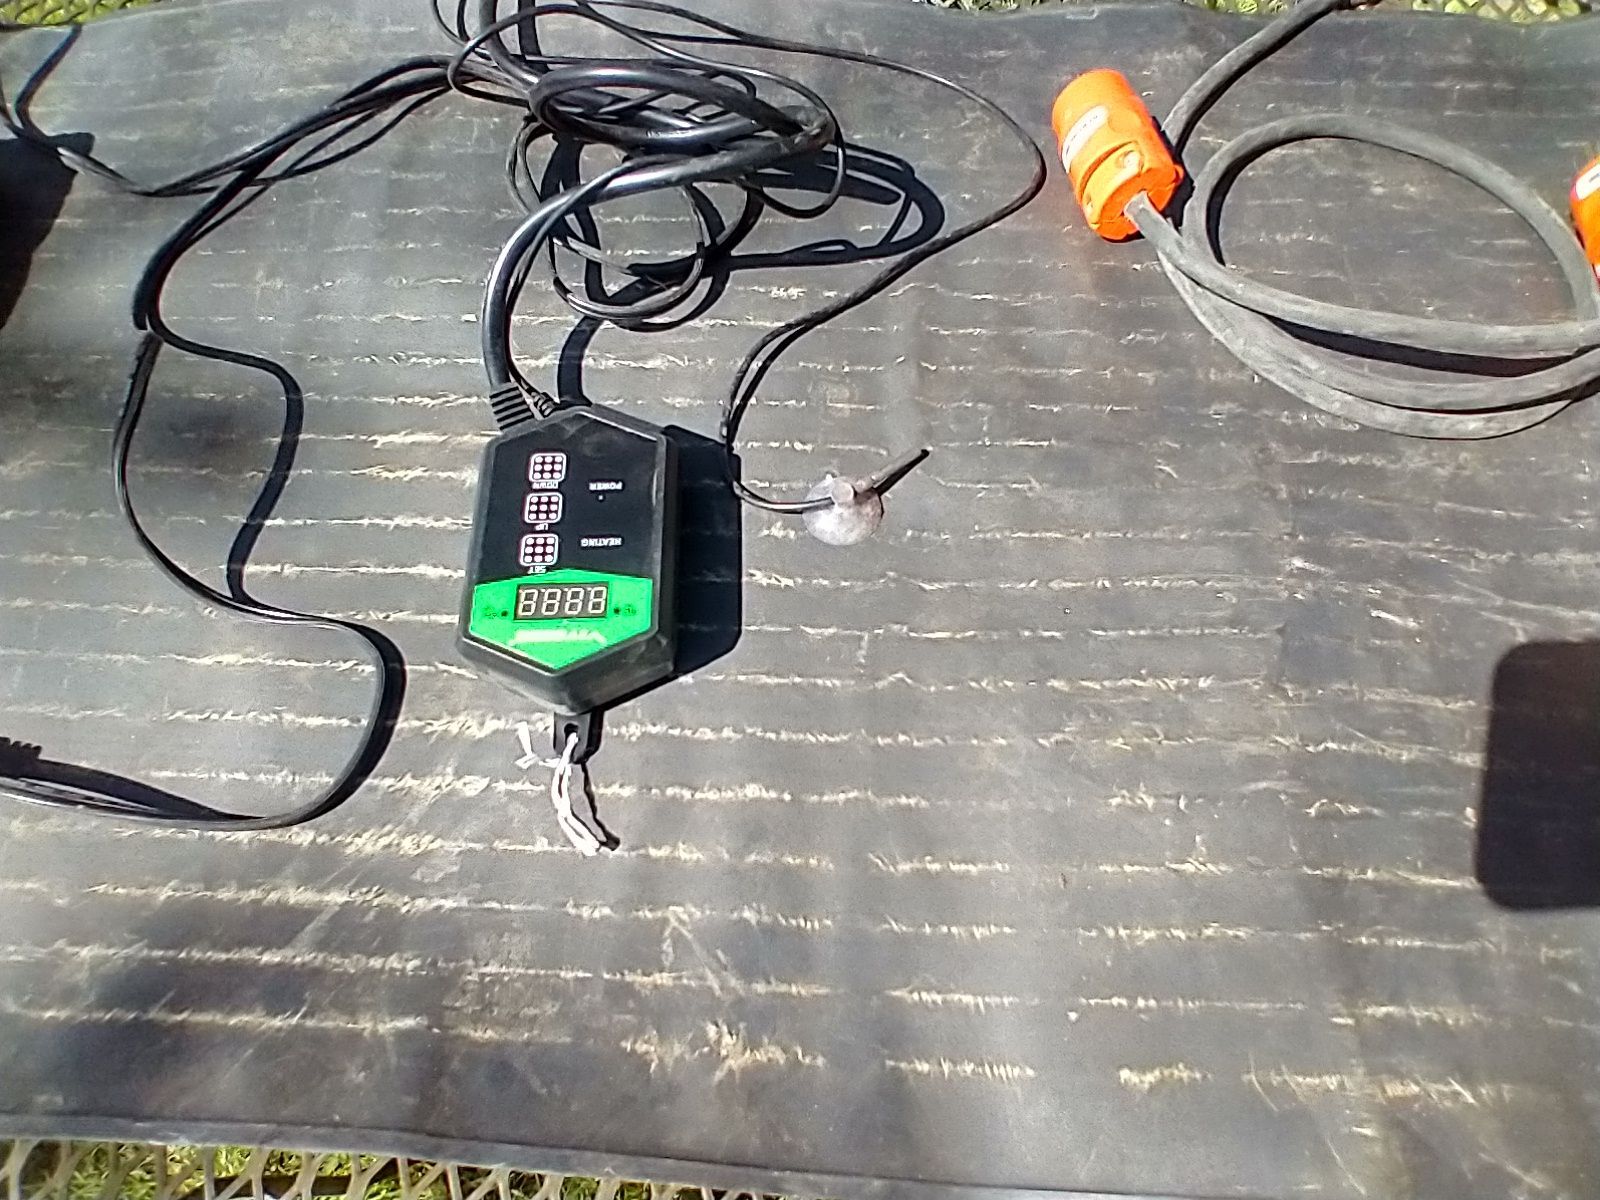
Heating pads: Warm season plants, like tomatoes and peppers, will germinate best at temperatures from 65 to 75 degrees Fahrenheit. If the room where you're beginning your seeds stays within this range, a heating pad will not be necessary. But if the room is often cooler, such as at night, a heating pad with give you much better success with these seeds.
Cool season crops include lettuce, onions and the "brassicas" like cabbage and broccoli. These vegetables will sprout better at cooler temperatures and usually don't require a heating pad.
The standard sizes for heating pads are 10x20 inches or 20x48 inches. What you choose depends on the space you have available and the number of warm season plants you want to grow. Each pad comes with a probe that is inserted into the soil for monitoring temperature. After the seeds have sprouted, the heating pad is no longer required. In fact, leaving it on will result in "leggy" plants.
Grow Lights:
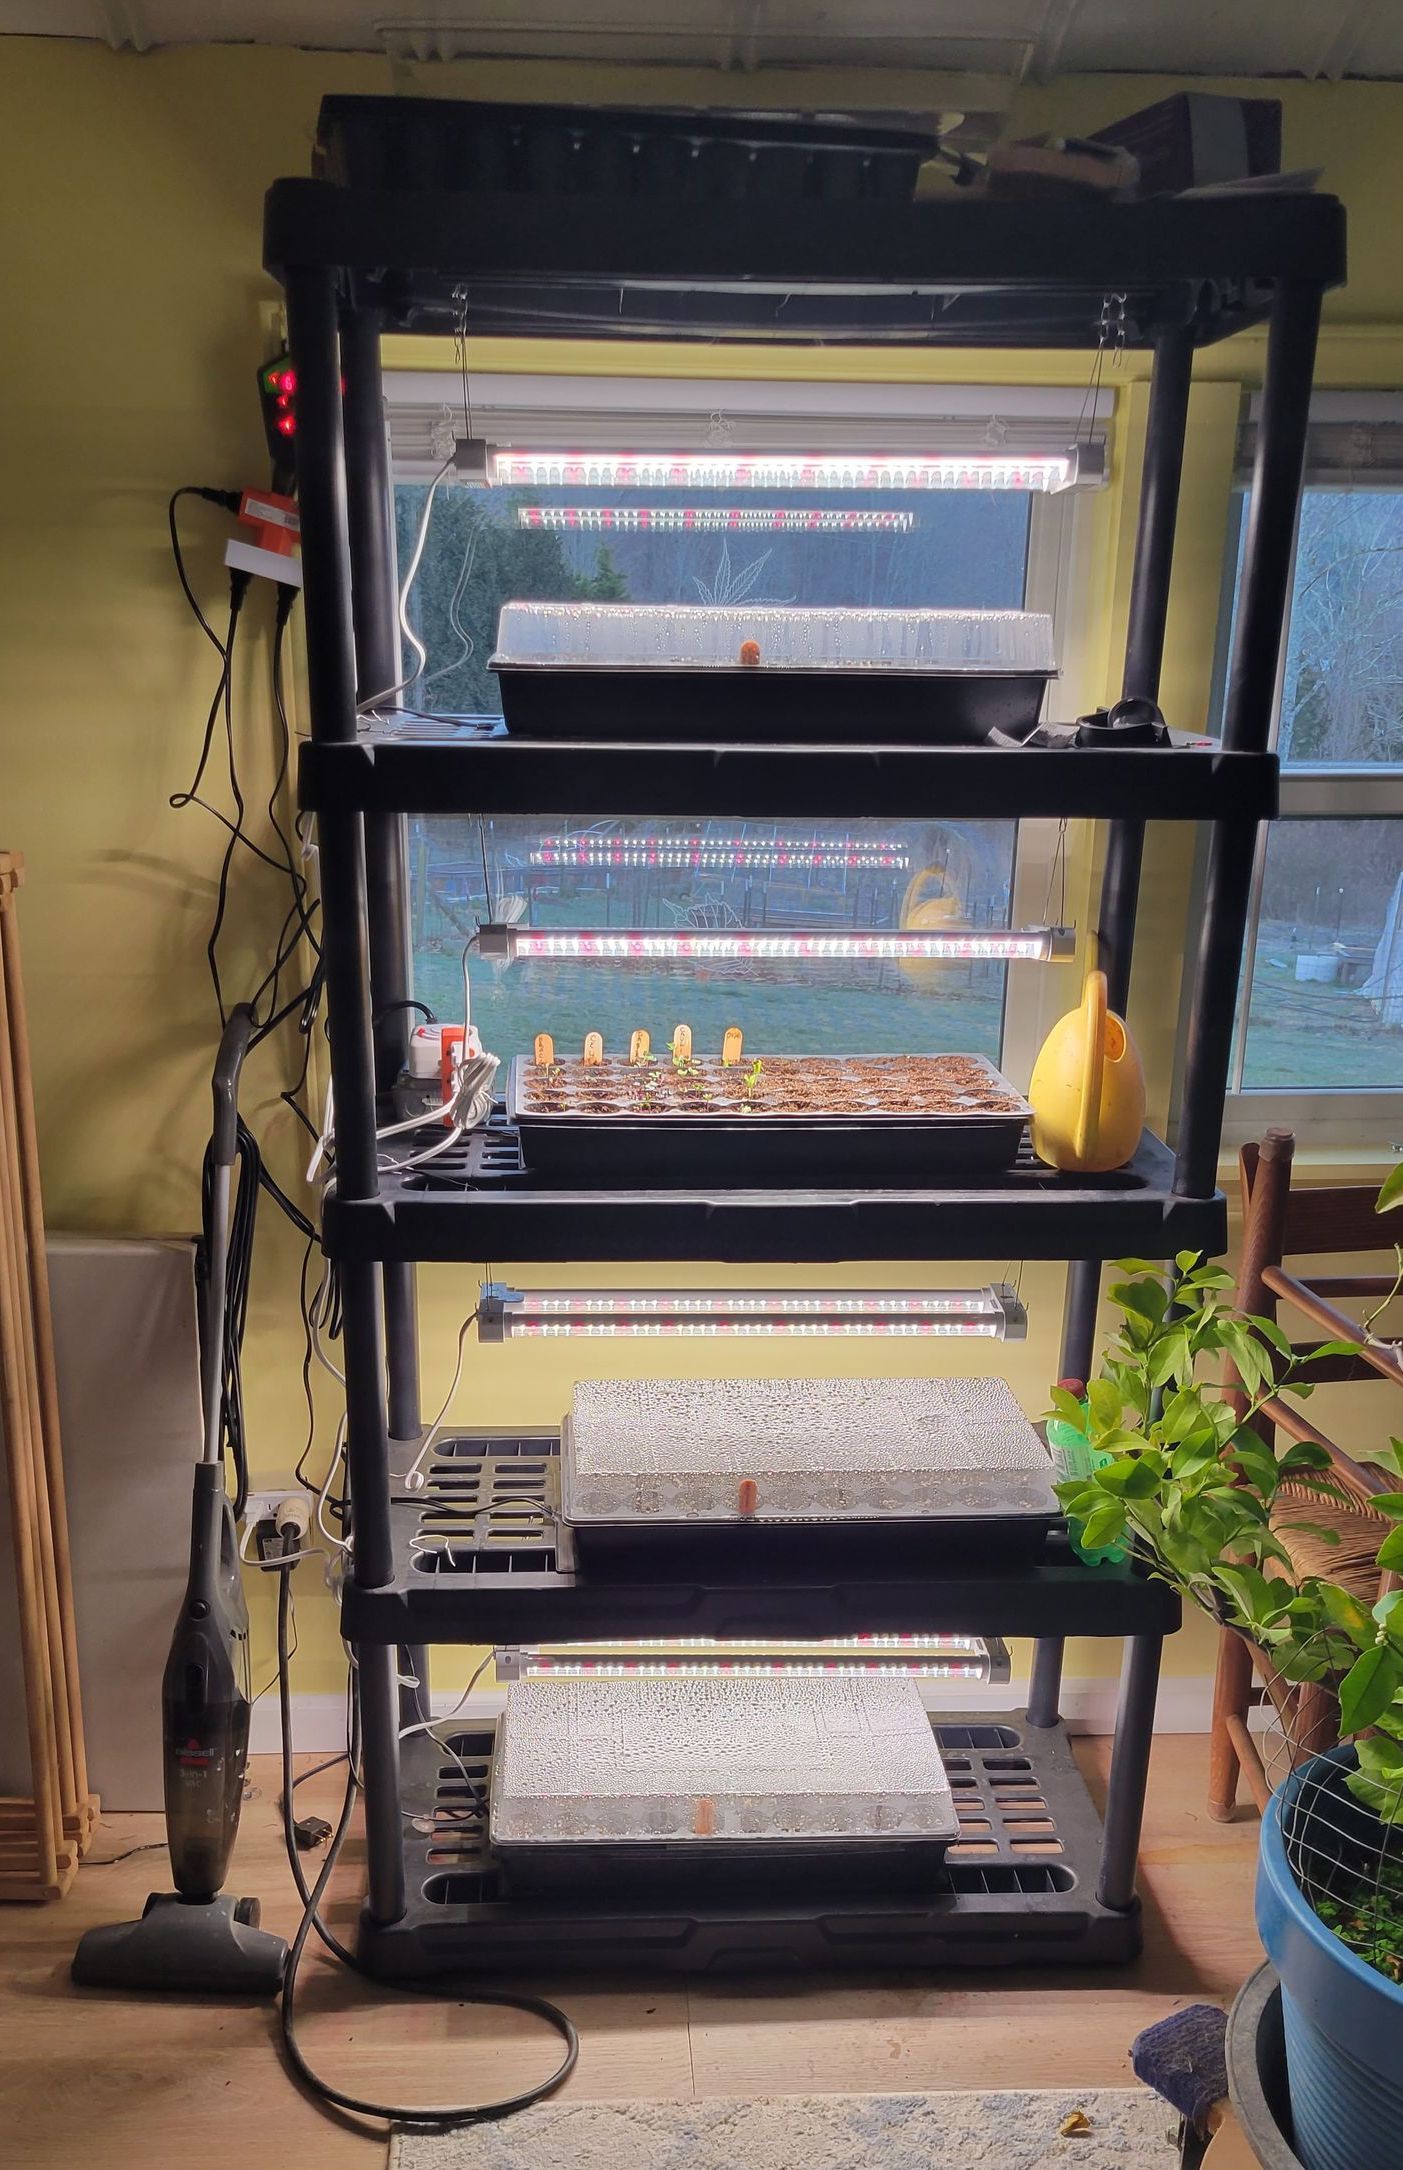
Grow lights are almost a necessity if you're growing more plants than will fit on a sunny windowsill. I was spoiled by previously having large, south facing windows that reached to the floor. After recently moving, I regretted not immediately buying grow lights for the first spring's seedlings. What I quickly learned is that plants grow tall and "leggy" without sufficient light, and many don't survive.
Depending on how many lights you need and what you can afford, grow lights can be assembled or bought as a full system. "Plant grow bulbs" are a sure bet when creating your own grow area, but cool-white fluorescent bulbs can also be used. Always allow 24 to 36 inches between the tops of the plants and most lights. Purchasing a complete set-up can give you the size and spacing between plants and lights that you need.
Your precious seedlings will require from 14 to 16 hours of light per day after they've sprouted and before going outdoors.
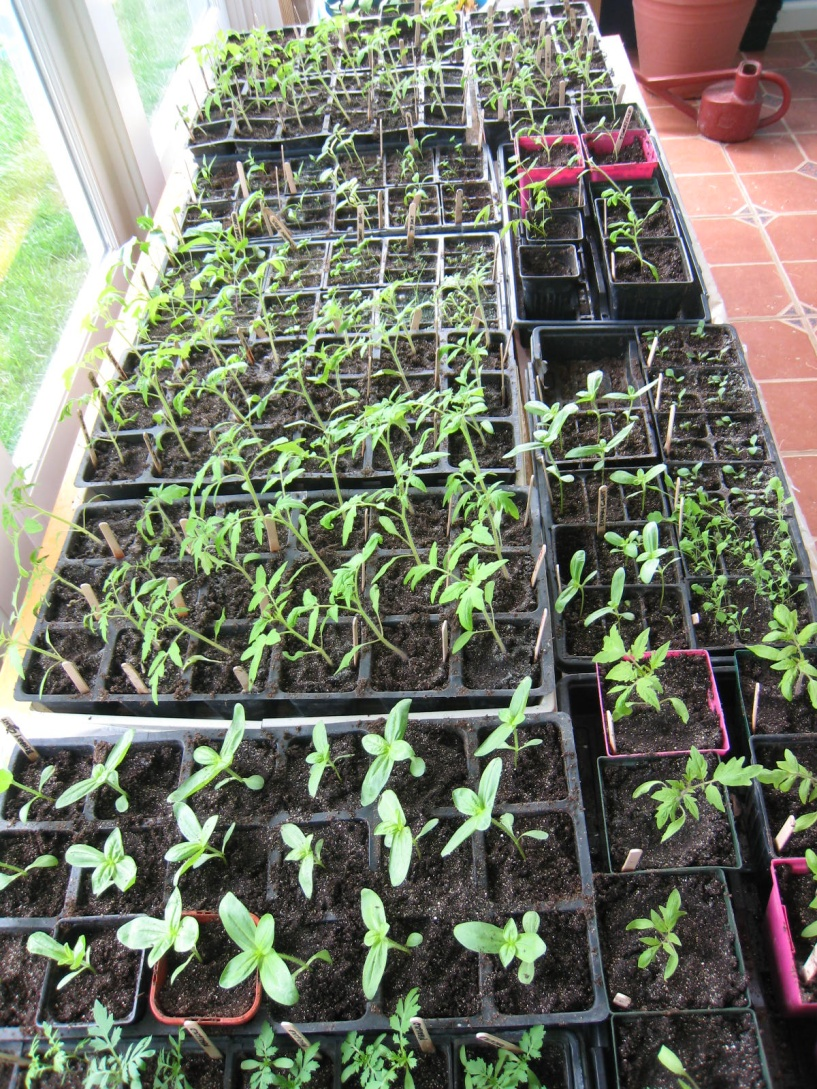
The seedling flats in this photo are sitting on heating mats made just for this purpose. A thermometer inserted into the soil keeps the soil's temperature in a comfortable range for the seedlings' roots.
Let's Begin Growing
When to begin: Moving from our homestead in central Ohio last spring to northeast Tennessee has made this challenging. It's simple to look up our USDA Hardiness Zone for our address to find out that we have moved from hardiness zone 6a to 7a, but what does that mean for when we begin our indoor planting? Climate change is also a challenge as many of us this spring have bounced from below freezing to the 80s and back again.
The general guidelines that I've used is to begin plants from seeds about six weeks before they can be planted outdoors. In Ohio, our "frost free date" was mid-May, so I'd begin most plants that can't be directly seeded during the last week of March. To make adequate room indoors, my husband would begin the onions and shallots about a month before. These then get moved out to the unheated hoop house at the end of March to make room for planting the other vegetable and flower seeds.
Cool season plants like kale, spinach and chard can be planted directly outdoors a couple of weeks before the frost free date in your area.
How to begin: Once you've set up your work area, go ahead and gather your seeds, soil, heating pads and containers.
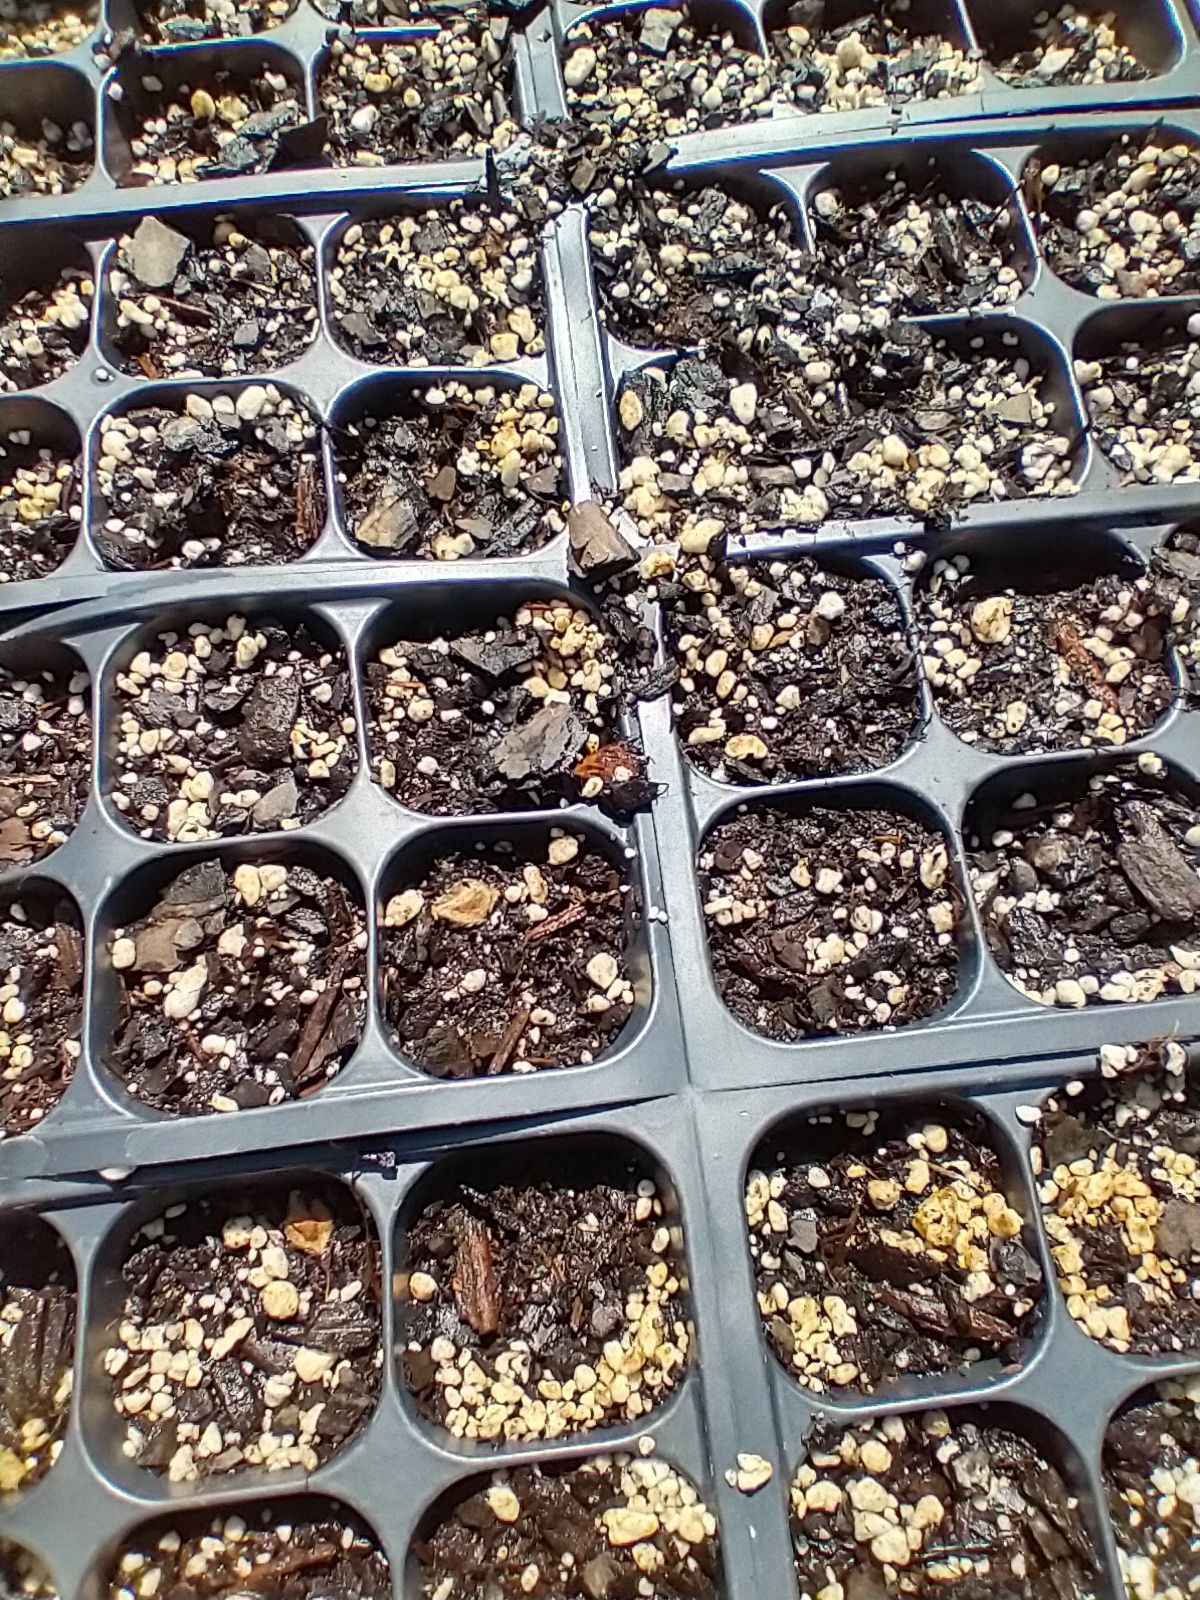
Before beginning to plant, you'll want the soil to be moist, but not soggy. The dry potting mix will need two or three waterings before planting seeds in order to get it thoroughly moist. If the soil condenses down with wetting, add some more growing mix so that your seedlings will sit high in the containers where they’ll get plenty of ventilation. Now, after all this preparation, the real pleasure of hands-in-soil can begin.
When determining how far apart to place each seed, it’s helpful to plant fine seeds 1/8” apart, medium seeds 1/2” apart and large seeds 1” apart. You can meticulously space the seeds, or else come back after they've sprouted and thin them. Tiny seeds are tough for old eyes, so that’s made thinning seedlings after they've sprouted easier for me. To do this, I use a tiny scissors to clip out the extra plants. I don't want to pull the extra seedlings because that would disturb their roots.
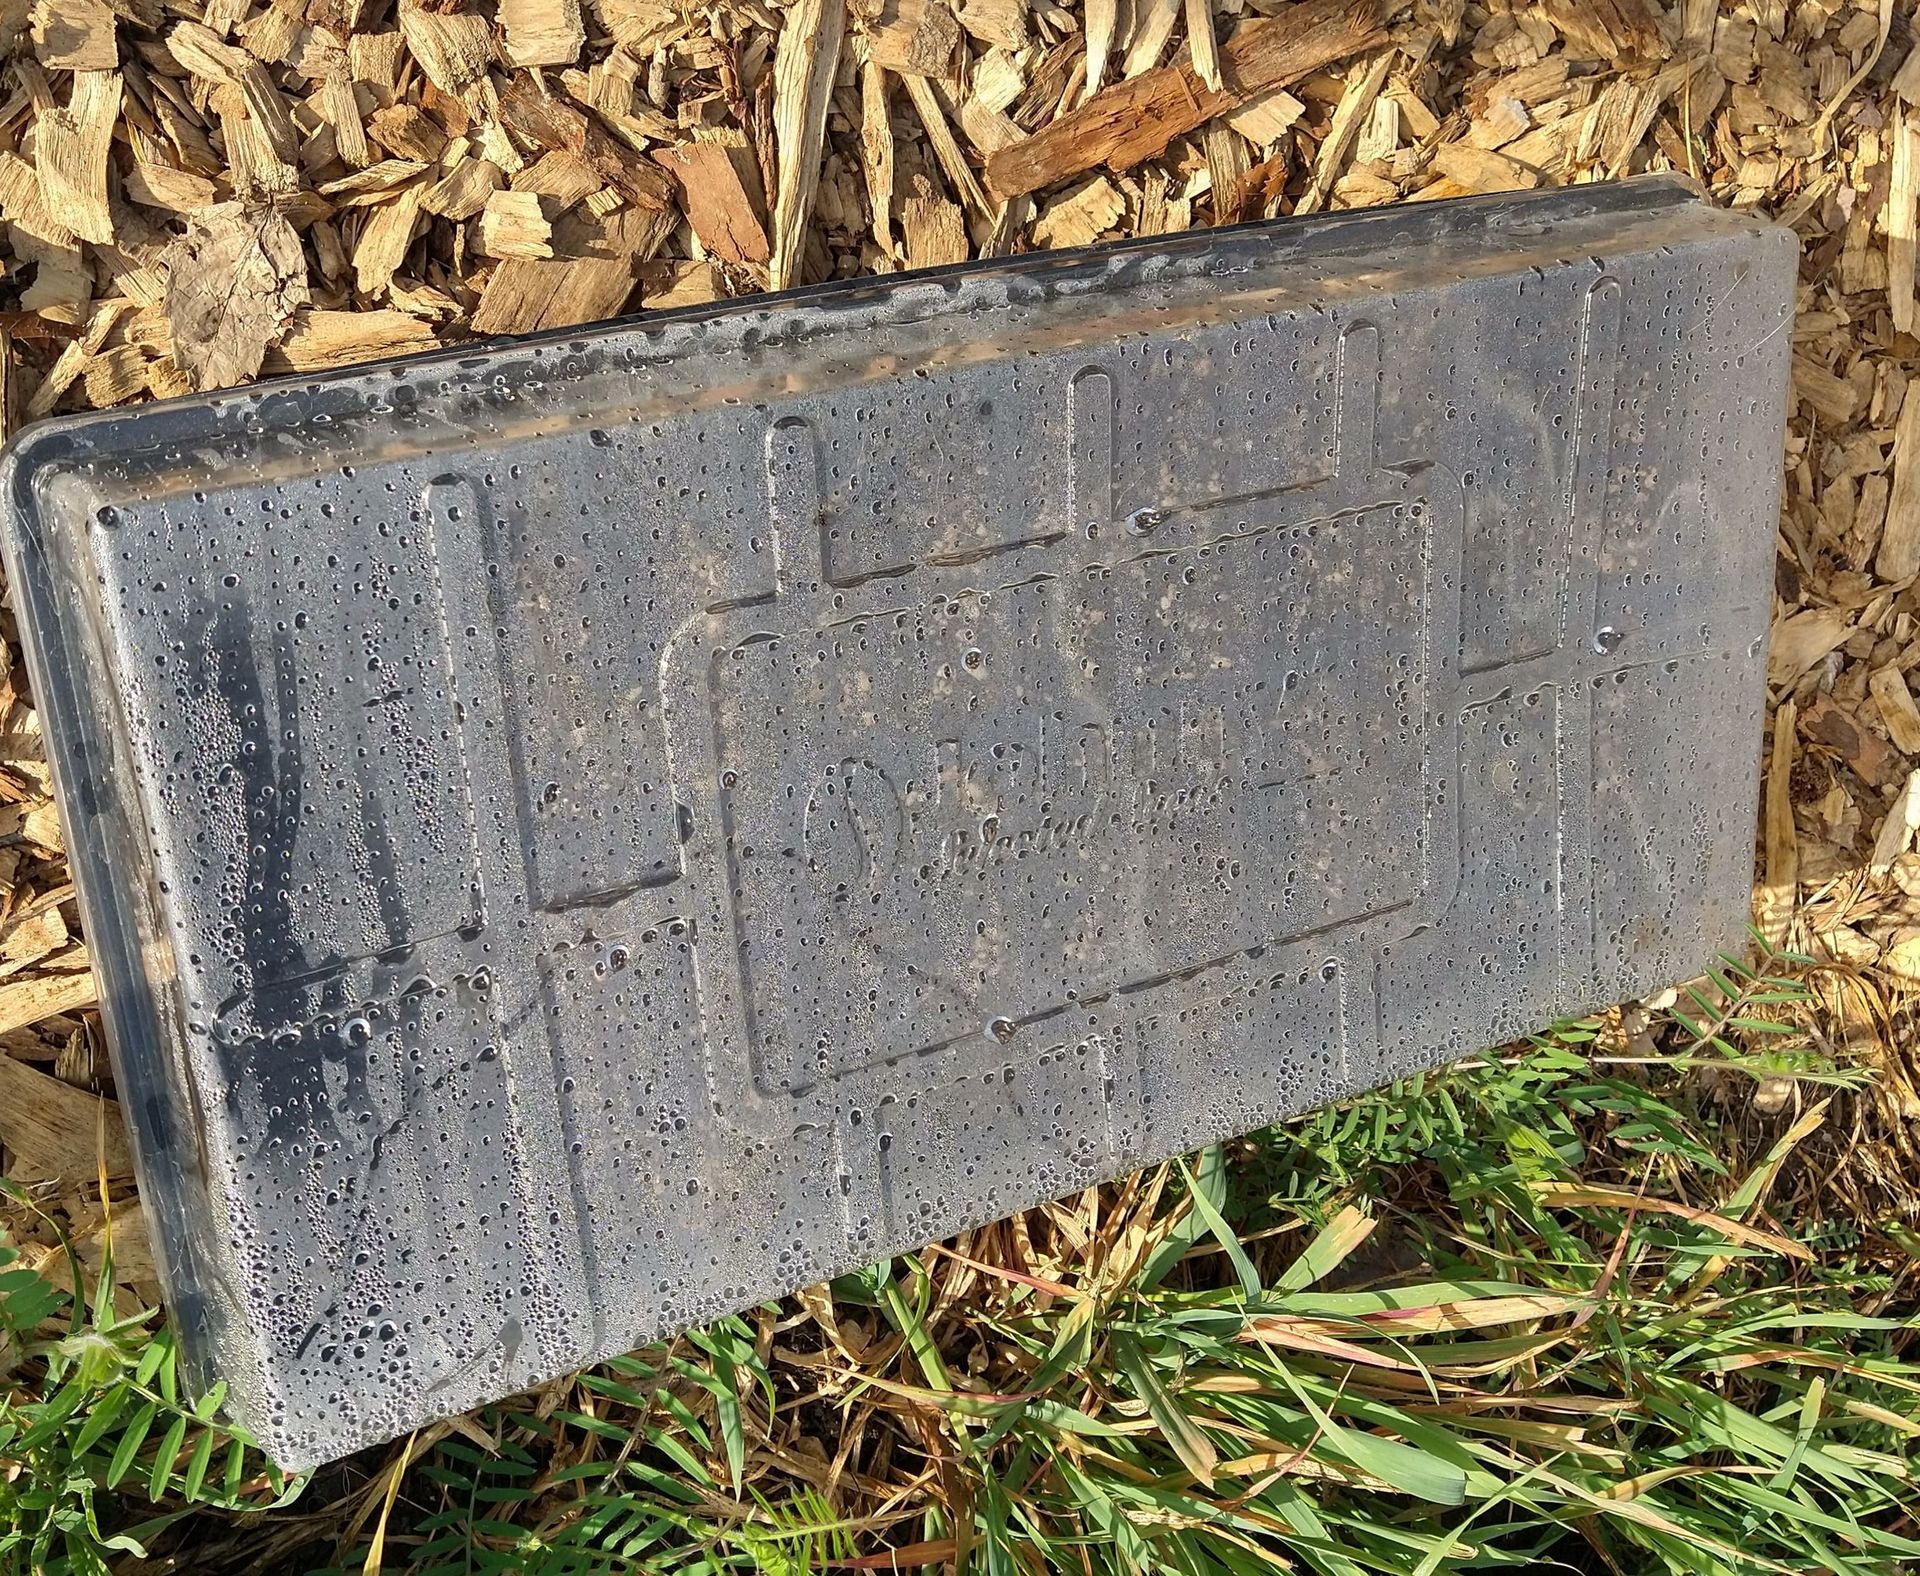
After planting and before the seedlings sprout, containers are covered with saran wrap or clean plastic covers to keep the seeds moist. These covers stay on until the first seedlings emerge when it becomes important to open the containers to allow air to circulate.
From Seed to Seedlings: Seedlings are precious and to keep them healthy we need to manage not only ventilation but also their temperature and light. Our sunroom has an over-head fan, but on nice days, an open window helps. Seedlings don’t need a consistent temperature—surely nature doesn’t provide that. They don’t even continue to need the higher temperatures that germination may require and so a south-facing window will do the trick.
Finally, it’s also critical to keep the seeds and little plants moist, but not sopping wet. A spray bottle works well for watering, but you can also set their containers in warm water. On the other hand, be extra careful on sunny afternoons so that they don’t entirely dry out.
Your seedlings’ first leaves are called “seed leaves,” and will not look like the plants’ real leaves. It’s okay to thin the seedlings at any time, even when they have only their seed leaves. When the remaining seedlings have their real leaves, it’s time to transfer them to larger, individual containers where they will grow until they are planted outdoors.
Transplanting into larger pots:
Before transplanting, be sure to pre-moisten the soil in the plants’ new containers because this wet soil will settle. Seedlings can be planted a bit deeper in their new pots but keep the soil high enough to give the plants good ventilation. During the transfer, try to handle the plants by a leaf rather than a stem. They can always grow another leaf if one is damaged. Also, keep as much soil around the roots as possible by using a very small spoon or a popsicle stick when transplanting each seedling. Popsicle sticks can be purchased at a craft store and are also useful as labels for the seedlings. It certainly helps me to have plants labeled if I want to again grow a variety that performed well and tasted great.
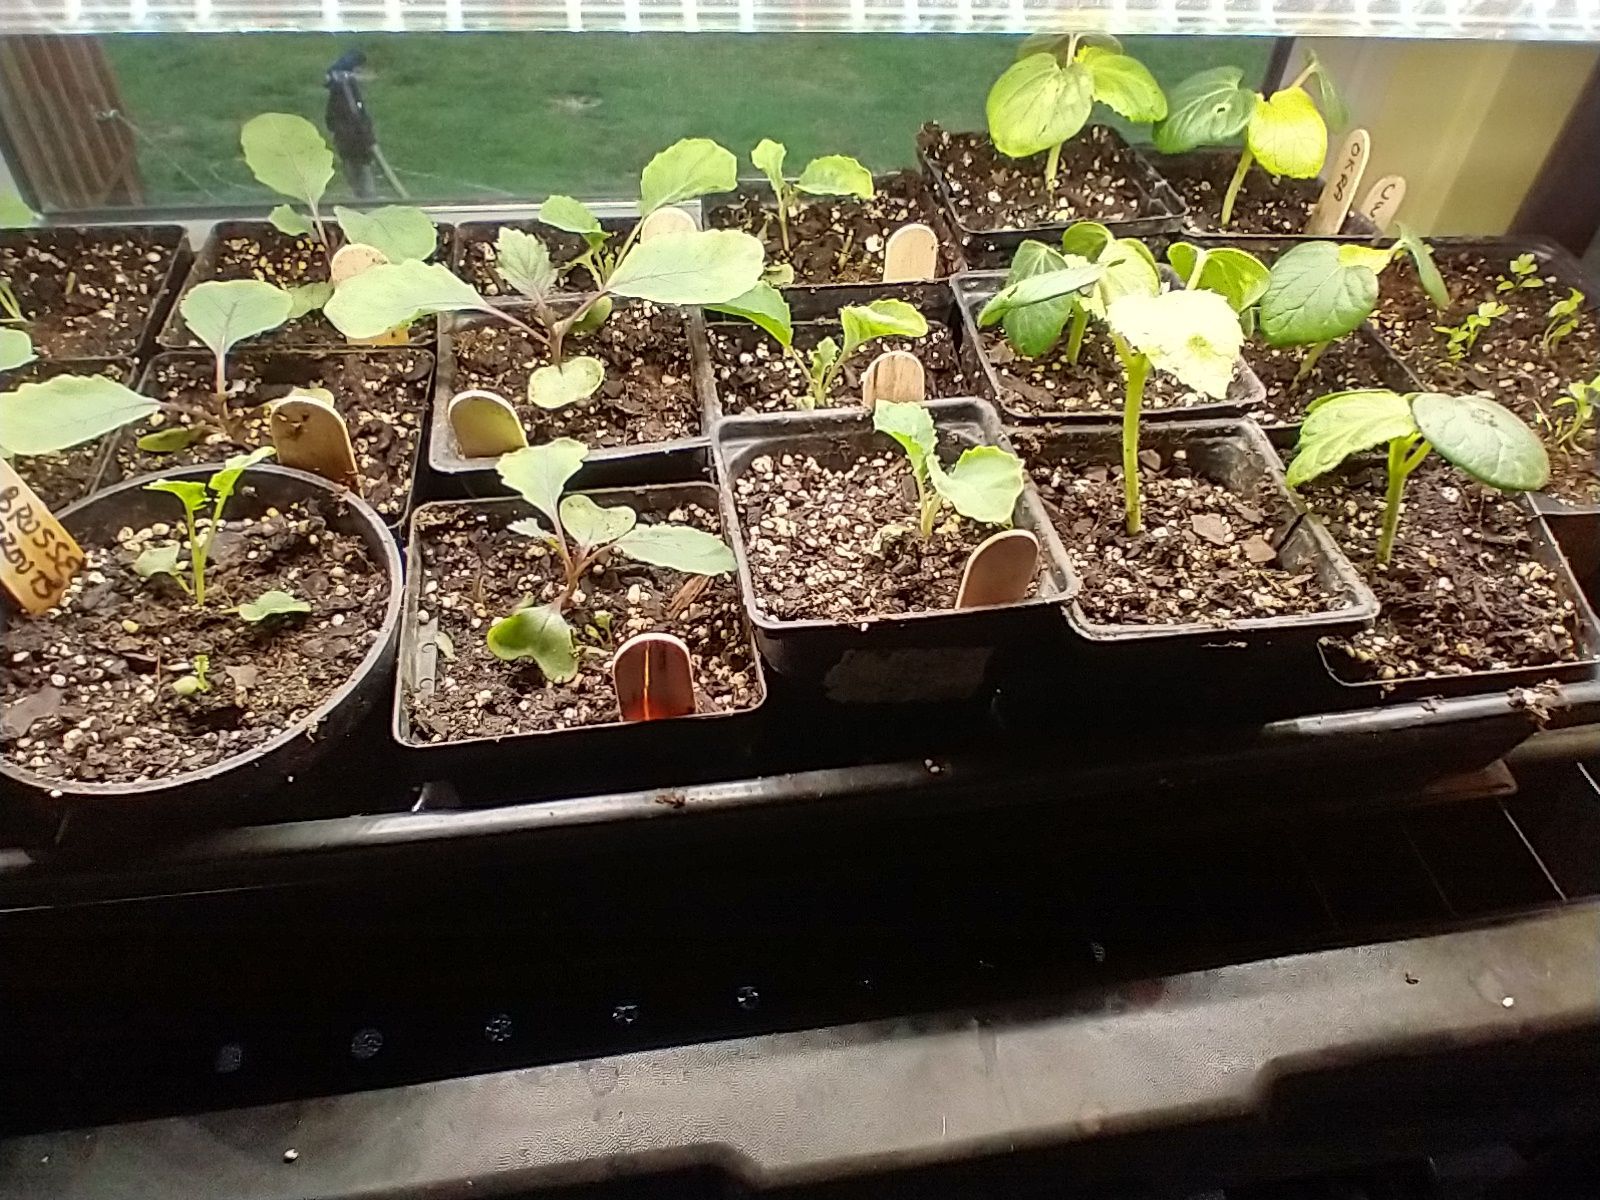
When our little plants get their secondary leaves, it not only signals that they're ready to be moved to their individual containers, but that they also need additional nutrition. Half-strength liquid fertilizer can be used about every ten days, although my preference is to use homemade compost tea.
Transitioning to the outdoors
After nurturing our plants so carefully, we want to make sure they make a safe transition to the outdoors. Plants started indoors are delicate and won’t tolerate the sun and wind if planted directly into the garden. When night temperatures are at least in the mid-50’s, they can be moved outdoors to a sheltered area. Over several days, they can be gradually exposed to more sun and stronger breezes. Although I’m pretty eager to get them into the garden, taking it slower often results in a less stressful transition for the plants and an earlier harvest for us. If you’re like me and realize you’ve gotten too eager as nights get cool or breezes get stiff, you can haul them back indoors or give them some shelter either with milk jugs anchored over each plant or by protecting them with a low-tunnel. It’s nice to have these alternatives as the weather gets more unpredictable.
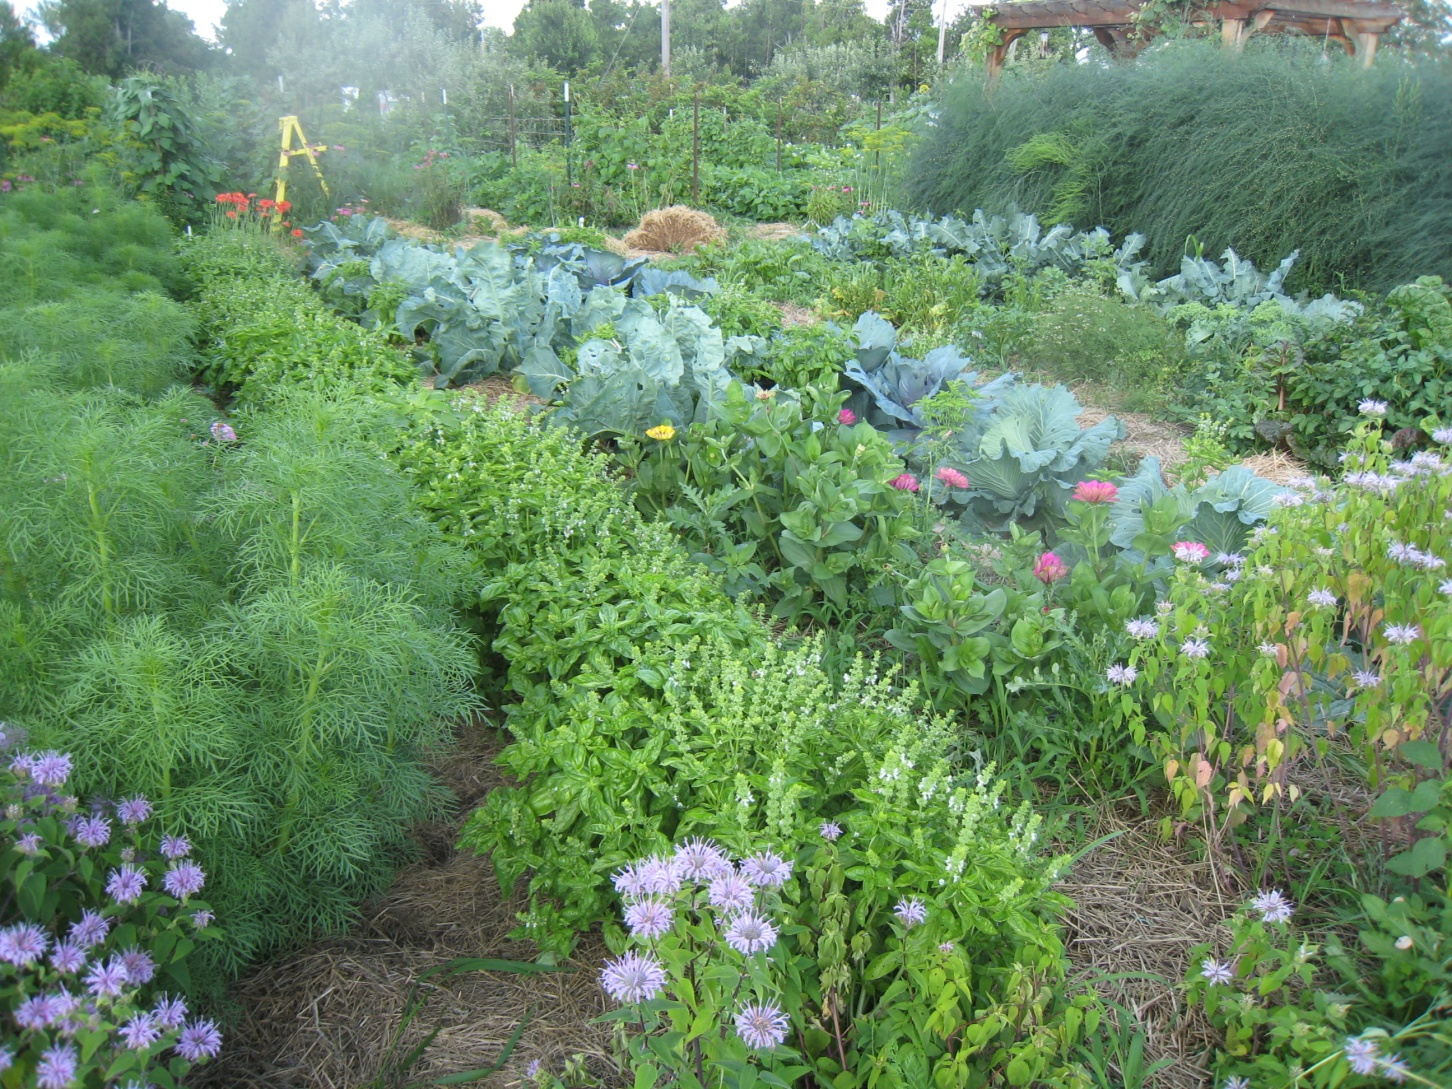
As you gather your seed-starting equipment and seeds in the late winter, enjoy the process. Each year will offer new challenges, but we'll reap many rewards as long as we grow plants and our food with a sense of adventure and joy. Keep your sense of humor when things don't go well. Many things get easier each year despite the challenges of climate change. Enjoy the planting, the nurturing, and the outdoor time with your hands in the soil. Delicious and nutritious harvests await you!
-
What do I need to start seeds indoors?
You will need seed trays, a soil mix, labels, and seeds. If you don't have sufficient window light, fluorescent lights or grow lights will be necessary, and a heat mat will also be helpful to get good germination.
-
When should I start garden seeds indoors?
You can begin seeds about six weeks before your frost-free date. You may plant them in individual pots before that time, or after they grow their secondary leaves. Be prepared to bring them to a sheltered place, however, if nighttime temperatures dip below freezing.
Mary Lou
mlgrowinglocalfood@gmail.com
